Bathroom accessories installation is the process of securely mounting functional and decorative items like towel bars, soap dispensers, robe hooks, and toilet paper holders to improve bathroom usability and style. A proper bathroom accessories installation guide covers two core methods: drilled mounting into studs or anchors, and no-drill adhesive mounting for tile-friendly setups. Standard placement heights matter just as much as technique. Towel bars mount at 48 inches from the finished floor, while robe hooks go at 65–70 inches. Get these details right, and your accessories stay secure, look sharp, and serve you for years.
What tools and preparation do you need before installing bathroom accessories?
The right tools make the difference between a solid install and a wobbly accessory that pulls off the wall in six months. Gather everything before you start, not halfway through.
Tools you need:
- Drill with tile and masonry bits for hard surfaces
- Stud finder to locate wall framing behind drywall or tile
- Screwdriver (Phillips and flathead)
- Level to keep accessories straight
- Tape measure and pencil for marking
- Wall anchors (plastic expansion anchors for drywall, toggle bolts for heavy loads)
- Adhesive kit with mounting adapters for no-drill setups
- Painter's tape to protect tile surfaces during drilling
- Safety glasses and dust mask
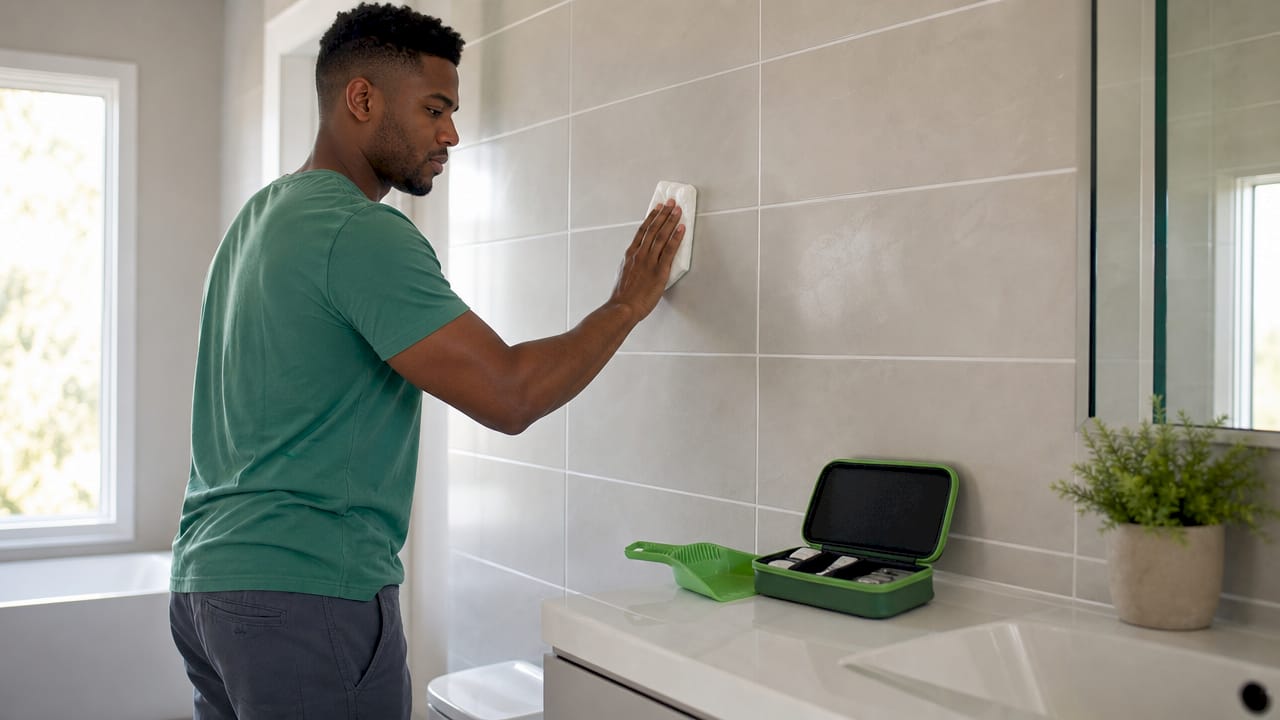
Surface preparation is non-negotiable for adhesive installs. Clean the wall with isopropyl alcohol and let it dry completely. Soap residue, moisture, and dust all break the bond before it forms. For drilled installs, check that your drill bits match the wall material. A standard wood bit tears through ceramic tile and ruins the surface.
Room temperature matters more than most homeowners realize. Adhesive performance drops significantly below 18°C (64°F). Cold tiles in an unheated bathroom during winter can cause adhesive failure even when everything else is done correctly.
Pro Tip: Warm a cold tile surface with a hair dryer for 30 seconds before applying adhesive. This brings the surface temperature up and gives the adhesive a much better chance of bonding properly.
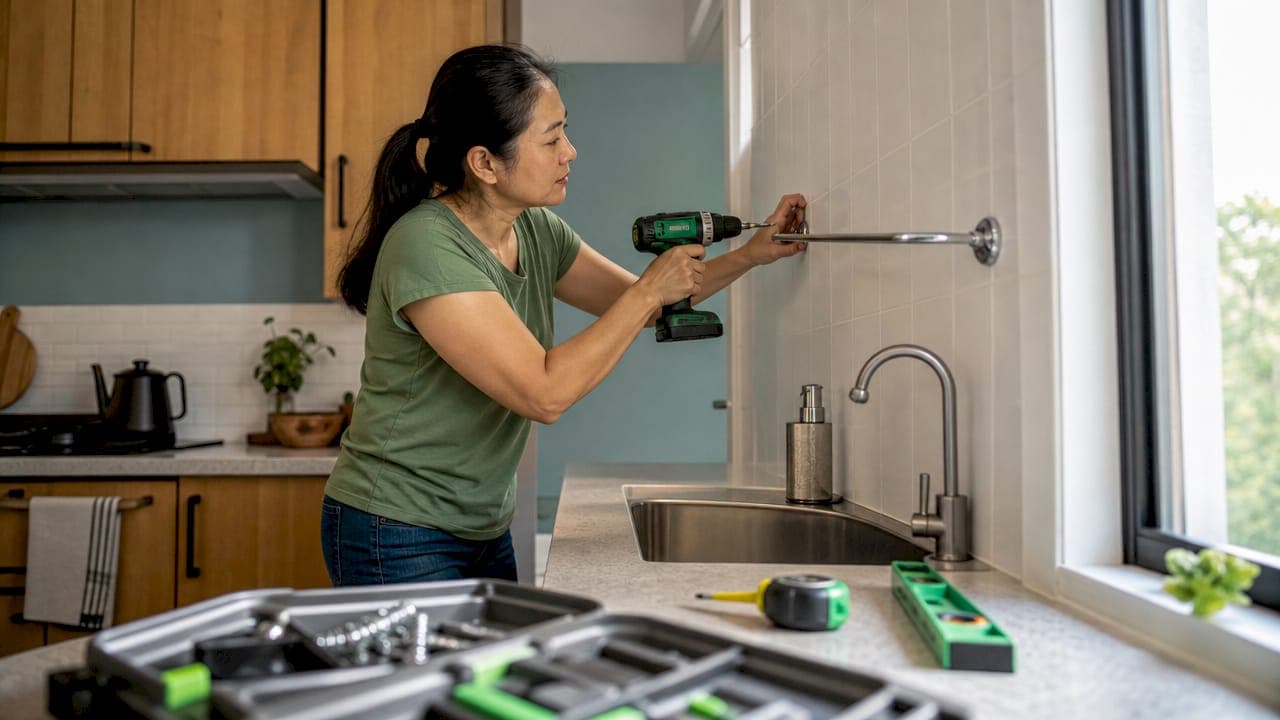
How to install bathroom fixtures using the drilled method
Drilled installation is the most secure method for bathroom accessories. Anchoring into solid framing gives you the strongest possible hold, and toggle bolts handle heavy loads when studs are not available.
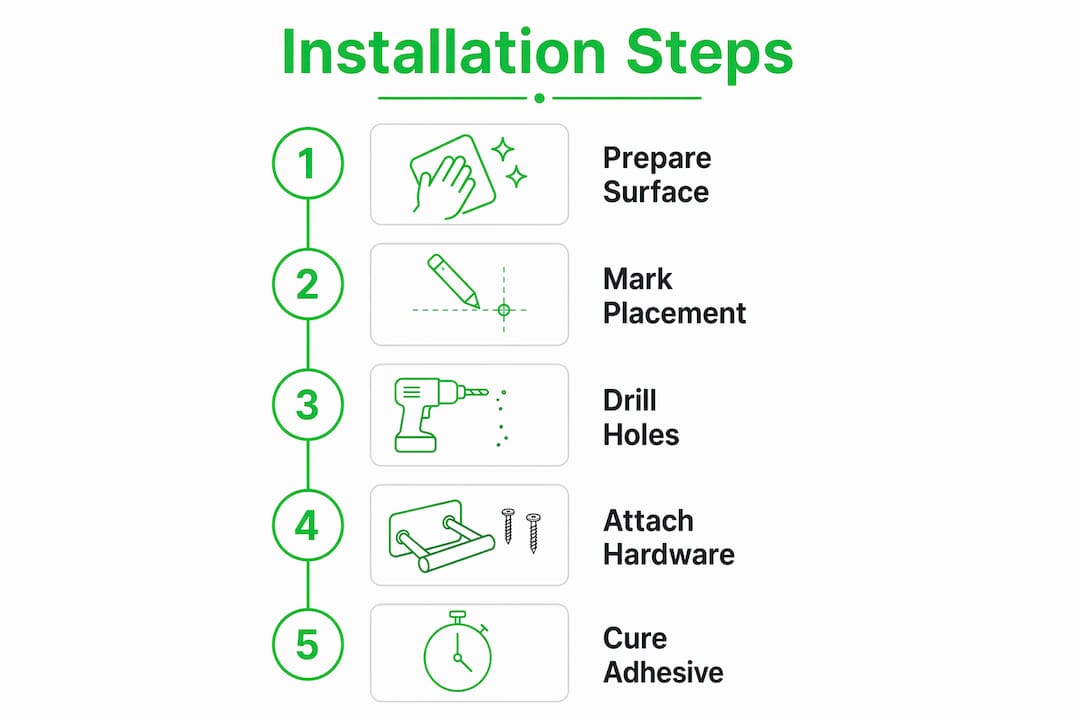
Step-by-step drilled installation
- Choose your location and height. The standard mounting height for a towel bar is 48 inches from the finished floor to the center of the bar. Mark this point lightly with a pencil.
- Find your studs. Run a stud finder across the wall and mark stud edges with tape. Studs sit 16 inches apart in most residential construction.
- Position the bracket template. Hold the mounting bracket against the wall at your marked height. Use a level to confirm it sits perfectly horizontal. Mark the screw hole positions with a pencil.
- Apply painter's tape over drill marks. This prevents tile from cracking or chipping when the bit makes first contact.
- Drill pilot holes. Use a carbide-tipped masonry bit for tile. Apply light, steady pressure. Let the bit do the work. Forcing it cracks tile.
- Insert anchors. If you hit a stud, drive screws directly into the wood. If not, tap plastic expansion anchors into the holes. For heavy accessories, use toggle bolts instead. Drill depth guidance is just deep enough to seat the anchor flush with the wall surface.
- Secure the mounting plate. Screw the bracket firmly to the wall. Check it does not wobble.
- Attach the accessory. Slide or click the towel bar, soap dispenser, or hook onto the mounted bracket. Tighten any set screws with an Allen key.
- Test stability. Apply firm downward and outward pressure. A properly installed accessory does not flex or shift.
Pro Tip: When drilling into tile, start at the slowest drill speed setting. High speed generates heat that can crack glazed ceramic. Once through the tile, switch to a faster speed for the drywall or substrate behind it.
The table below shows recommended drill bit types by wall surface:
| Wall surface | Recommended bit type | Notes |
|---|---|---|
| Ceramic tile | Carbide-tipped masonry bit | Use painter's tape; slow speed |
| Porcelain tile | Diamond-tipped drill bit | Harder surface; use water to cool |
| Drywall only | Standard twist bit | Fast and straightforward |
| Concrete or block | Hammer drill masonry bit | Use hammer drill mode |
How to install bathroom accessories using no-drill adhesive methods
No-drill installation works well on smooth, sealed tile surfaces. It fails on textured tile, grout lines, or any surface with micro-gaps. Uneven surfaces reduce adhesive contact area and cause the mount to fail under load.
Step-by-step adhesive installation
- Select the right adhesive kit. Not all kits work for all accessories. The tesa Power.Kit system uses specific mounting adapters matched to each accessory type. Towel holders, soap dispensers, and toilet paper holders each use a different adapter. One adapter does not fit all.
- Assess your surface. Run your finger across the tile. If you feel texture or grout lines within the mounting footprint, adhesive mounting will not hold reliably. Switch to the drilled method.
- Clean the surface thoroughly. Wipe the tile with isopropyl alcohol. Let it dry for at least five minutes. Do not use bathroom spray cleaners. They leave residue that blocks adhesion.
- Warm the surface if needed. If the room is below 18°C, use a hair dryer on the tile for 30 seconds before applying adhesive.
- Apply the adhesive pad or compound to the adapter. Press the adapter firmly against the tile for 30–60 seconds with consistent, even pressure. No rocking or sliding.
- Wait 24–48 hours before loading. This is the step most homeowners skip. Premature loading is the leading cause of adhesive mount failure. The bond looks set after a few hours but has not reached full strength.
- Attach the accessory to the adapter. Follow the kit instructions for clicking or sliding the accessory into place.
Common mistakes to avoid:
- Mounting on textured or painted walls without checking adhesive compatibility
- Skipping the alcohol cleaning step
- Applying adhesive in a cold bathroom without warming the surface
- Loading the accessory the same day as installation
- Using a single-adapter kit for multiple accessory types
Pro Tip: Mark the adapter position with painter's tape before peeling the adhesive backing. Once the adhesive touches the tile, repositioning damages the bond. Tape gives you a visual guide so you place it correctly on the first try.
What are the ideal placement heights for bathroom accessories?
Placement height affects both comfort and safety. Mounting a towel bar too low means wet towels drag on the floor. Mounting robe hooks too high makes them useless for children or shorter adults.
The industry standard heights for common bathroom accessories are:
| Accessory | Standard height (from finished floor) | Notes |
|---|---|---|
| Towel bar | 48 inches | Adjust up to 52 inches for taller users |
| Towel ring | 50–52 inches | Typically beside the sink |
| Robe hook | 65–70 inches | Lower to 48–54 inches for children |
| Hand towel bar | 42–48 inches | Near vanity or sink |
| Toilet paper holder | 26 inches | Beside toilet, 8–12 inches forward |
| ADA grab bar | 33–36 inches | Must anchor into studs or blocking |
ADA-compliant grab bars follow strict requirements. They mount between 33 and 36 inches from the finished floor and must anchor solidly into studs or structural blocking. Sidewall grab bars need at least 42 inches of length and 1.5 inches of finger clearance from the wall. These are not suggestions. They are safety standards.
For households with children, lower robe hooks to 48 inches and add a second towel bar at 36 inches below the standard one. For mobility-impaired users, grab bars near the toilet and shower are the highest-priority installation in any step-by-step bathroom setup.
Spacing between double towel bars matters too. Leave at least 9 inches of vertical clearance between stacked bars so towels hang without overlapping. Combination setups with a bar and a hook nearby work best when the hook sits 6–8 inches to the side of the bar end.
Key takeaways
Successful bathroom accessory installation depends on three factors: the right method for your wall surface, correct placement heights, and full adhesive curing time before use.
| Point | Details |
|---|---|
| Match method to surface | Use drilled installs on textured walls; use adhesive only on smooth, sealed tile. |
| Follow standard heights | Mount towel bars at 48 inches and robe hooks at 65–70 inches for best usability. |
| Anchor into studs when drilling | Studs give the strongest hold; use toggle bolts for heavy loads when studs are unavailable. |
| Wait 24–48 hours for adhesive | Loading an adhesive mount too early is the top cause of failure. |
| Use accessory-specific adapters | Adhesive kits like tesa Power.Kit require matched adapters per accessory type. |
What I've learned from watching too many bathroom installs go wrong
The single most common mistake I see is impatience. Homeowners finish an adhesive install, feel proud of the work, and hang a wet towel on it two hours later. The mount pulls off the tile, sometimes taking a chunk of the surface with it. Waiting the full 24–48 hours feels unnecessary until it is not.
The second mistake is skipping the stud finder. Drywall anchors work, but they are a fallback, not a first choice. A towel bar mounted into a stud handles daily use without any movement. One mounted only in drywall with plastic anchors will loosen over time, especially in a humid bathroom where the wall material softens slightly.
Preparation also gets underestimated. Cleaning the tile with isopropyl alcohol takes 90 seconds. Skipping it and using a damp cloth instead leaves a thin film of soap and minerals on the surface. The adhesive bonds to that film, not the tile. When the film breaks down, the mount fails.
My honest recommendation: if you are not confident about hitting studs or working with tile, call a professional for the drilling work and handle the adhesive accessories yourself. Splitting the job that way saves money and avoids the most common DIY bathroom installation mistakes.
— Rayner
Professional bathroom installation help in Singapore
Honestbuilders is Singapore's trusted renovation and handyman specialist, serving HDB, condo, landed, and commercial properties island-wide.
If you have worked through this guide and realized the job is more involved than expected, Honestbuilders handles the full range of bathroom handyman services from accessory installation to full bathroom renovation. No hidden charges, no runaround. WhatsApp Honestbuilders at +65 9447 9696 for a free, no-obligation quote.
FAQ
What height should a towel bar be mounted at?
The standard towel bar height is 48 inches from the finished floor to the center of the bar. Adjust up to 52 inches for taller households.
Can I install bathroom accessories without drilling?
Yes, on smooth and sealed tile surfaces using adhesive kits. Textured tile, grout lines, or painted walls reduce adhesive effectiveness and often cause failure.
How long does adhesive need to cure before I use the accessory?
Adhesive mounts need 24–48 hours to fully cure before you load them with towels or other items. Loading too early is the leading cause of no-drill installation failure.
Do I need a stud finder for bathroom accessory installation?
A stud finder is strongly recommended for drilled installs. Anchoring into a stud gives the strongest hold. When studs are not available, use toggle bolts rated for the expected load.
What is the correct height for ADA-compliant grab bars?
ADA grab bars mount between 33 and 36 inches from the finished floor and must anchor into studs or structural blocking for safety compliance.