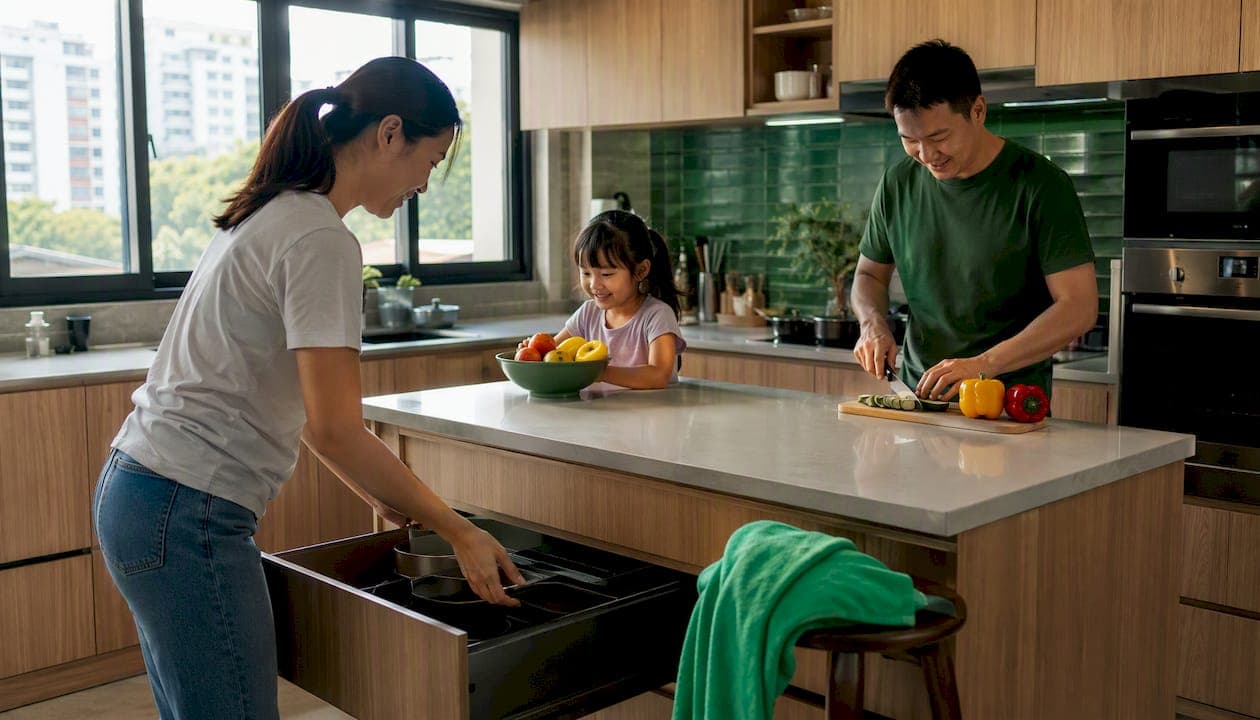
The simplest, highest-impact HDB kitchen designs to copy right now fall into six categories, each proven to work within the constraints of a typical Singapore flat. Browse Houzz's HDB kitchen galleries for photos, check IKEA's METOD modular system for drawer and cabinet configurations, and contact Honestbuilders for on-site help turning any of these into a real renovation brief.
Top six copyable examples:
- Galley handleless minimal — the most space-efficient layout for narrow kitchens; handleless doors keep circulation clear
- L-shape with breakfast bar — adds a dining zone without hacking walls; works well in 4-room and 5-room flats
- Single-wall with built-in dining nook — frees up the rest of the room; ideal for 3-room flats with open-plan ambitions
- U-shape with service-yard tie-in — maximizes storage and workflow; best where the service yard connects directly to the kitchen
- Scandinavian light palette — white or pale-oak cabinetry with matte surfaces; makes any compact kitchen feel larger
- Dark-charcoal contrasting kitchen — bold, high-impact look using dark lower cabinets against light uppers or walls; works in 4-room and 5-room flats with decent natural light
Detailed examples, layout comparisons, material guidance, and a contractor checklist follow below.
Table of Contents
- 12 concrete HDB kitchen design examples organized by layout and style
- Space-saving features that actually work in compact kitchens
- Which layout fits your flat size and cooking style?
- Materials and finishes that hold up in a compact kitchen
- Appliances and fixtures sized for small HDB kitchens
- Renovation timeline and cost bands
- Pre-renovation checklist and questions to ask your contractor
- Key Takeaways
- What most HDB kitchen renovations get wrong
- Honestbuilders handles your HDB kitchen renovation from brief to handover
- Useful sources and inspiration resources
12 concrete HDB kitchen design examples organized by layout and style
These examples of HDB kitchen designs are grouped by layout first, then by style. Each one includes the single biggest change to copy and a rough cost sensitivity note.
Galley layouts
1. Handleless white laminate galley Clean, unbroken lines on both sides of a narrow run. The biggest change to copy: swap all base doors for deep drawers. Cost sensitivity: low to medium. Drawers cost more than doors upfront but recover usable space that shelves waste.
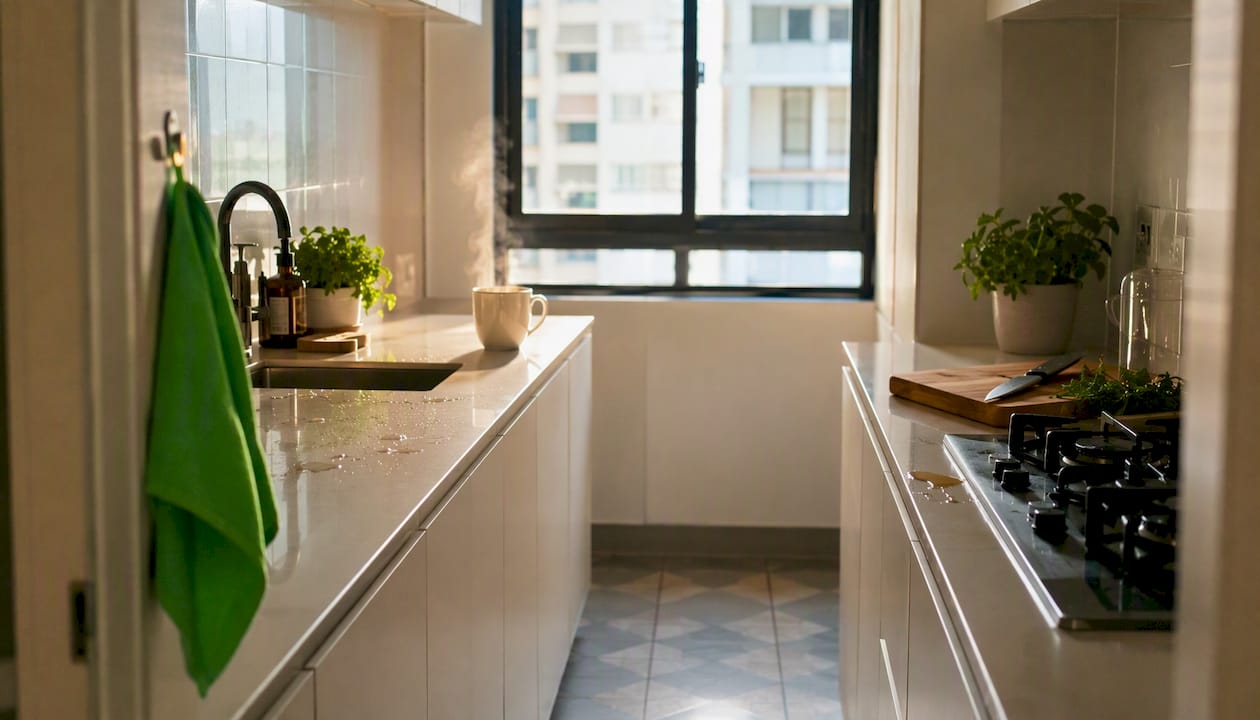
2. Galley with pull-out pantry column A full-height pull-out pantry at the end of one run stores dry goods, condiments, and small appliances without eating counter space. Houzz examples show this paired with a slim counter zone for a rice cooker and air fryer near the entrance. Cost sensitivity: medium.
3. Dark-charcoal galley with terrazzo floor transition Dark lower cabinets, light upper cabinets, and a terrazzo floor that transitions into the dining area. The floor change signals the zone shift without a wall. Houzz photo galleries feature this combination in Queensway HDB projects with timber slat column accents. Cost sensitivity: medium to high.
L-shape layouts
4. L-shape with slim peninsula breakfast bar The peninsula extends one arm of the L by 60–80 cm to create a two-seat breakfast bar. No wall hacking needed if the space allows. The biggest change: specify the peninsula at counter height (90 cm) with knee clearance underneath. Cost sensitivity: medium.

5. Japandi L-shape with open shelving Warm oak veneer lower cabinets, no upper cabinets on one wall, and two or three open shelves instead. Keeps the kitchen feeling open. The tradeoff: open shelves collect grease in a cooking-heavy kitchen, so position them away from the hob. Cost sensitivity: medium.
6. Soft contemporary L-shape with integrated appliances Fridge, oven, and microwave all behind matching cabinet panels. The result looks like a wall of cabinetry until you open a door. Cost sensitivity: high, but the visual payoff in a small flat is significant.
U-shape layouts
7. U-shape with service-yard pass-through The third arm of the U connects to the service yard, giving you a dedicated wet-work zone. This layout suits 4-room and 5-room flats where the kitchen and service yard share a wall. Cost sensitivity: medium to high depending on whether plumbing needs rerouting.
8. Compact U-shape with vertical storage to ceiling Floor-to-ceiling cabinetry on all three walls. The top row stores rarely used items; the lower two rows handle daily cooking. Cost sensitivity: medium. The key detail: specify a pull-down shelf mechanism for the top row so nothing gets forgotten up there.
Single-wall layouts
9. Single-wall with built-in dining nook One run of cabinetry along a single wall, with a built-in bench and table opposite. Frees the rest of the room entirely. Works best in 3-room flats. Cost sensitivity: low to medium.
10. Scandinavian single-wall with under-cabinet lighting Pale oak or white cabinetry, no upper cabinets, and LED strip lighting mounted under a floating shelf. IKEA's METOD case study notes that integrated under-cabinet lighting brightens work surfaces day and night, which matters in kitchens that don't get direct sunlight. Cost sensitivity: low.
11. Industrial single-wall with exposed concrete backsplash Raw concrete or concrete-effect tiles behind a stainless-steel counter. Pairs well with matte black tap fittings. Cost sensitivity: low to medium depending on whether the concrete is real or a tile effect.
12. Open-concept single-wall with island Requires partial wall hacking to create the island zone. This is the highest-cost option in this list and needs structural and ventilation checks before you commit. Cost sensitivity: high.
Pro Tip: In any small HDB kitchen, matte or satin finishes on upper cabinets reduce glare and make the space feel calmer. Reserve gloss finishes for lower cabinets or a single accent panel where you want visual depth.
Space-saving features that actually work in compact kitchens
The IKEA METOD system and Houzz case studies consistently point to the same handful of storage moves as the highest-return changes in a small HDB kitchen:
- Deep drawers instead of base doors — a full-extension drawer lets you see and reach everything in a base unit. Cabinet doors with shelves leave the back third of the unit effectively dead. Specify drawers with soft-close undermount runners; they last longer and stay quieter.
- Pull-out pantry column — a 30 cm or 45 cm pull-out pantry beside the fridge or at the end of a run stores more than it looks like it should. Confirm the column depth with your contractor before ordering.
- Vertical storage to ceiling — the space above the standard 2.1 m cabinet line is usually wasted. A full-height cabinet or a top row of wall units captures it. Use it for seasonal items or bulk storage.
- Integrated appliances — a fridge, oven, or washing machine behind a matching cabinet panel removes visual clutter and makes a small kitchen feel like a single designed object rather than a collection of appliances.
- Slim counter zone for small appliances — a dedicated 30–40 cm counter section near a power point keeps the rice cooker and air fryer off the main prep surface. Houzz examples place this near the kitchen entrance to keep the main counter clear.
- Under-cabinet LED strips — task lighting under upper cabinets eliminates the shadow your body casts when you stand at the counter. It also makes the kitchen feel larger at night.
Pro Tip: Place a pull-out spice and sauce drawer immediately beside the hob. It's a small layout move, but it removes the most common source of countertop clutter in a narrow galley run and keeps your prep zone genuinely usable.
Which layout fits your flat size and cooking style?
Galley, L-shape, U-shape, and single-wall are the four baseline HDB kitchen layouts. Each suits a different flat type and priority.
| Layout | Space efficiency | Workflow | Renovation difficulty | Best for |
|---|---|---|---|---|
| Galley | High | Linear, efficient | Low | 3-room, narrow kitchens |
| L-shape | Medium-high | Good triangle | Low to medium | 4-room, entertaining |
| U-shape | Very high | Excellent | Medium to high | 4-room, 5-room, heavy cooking |
| Single-wall | Medium | Simple | Low | 3-room, open-plan goals |
| Peninsula/Island | Medium | Excellent | High (hacking required) | 5-room, open-concept |
Galley suits narrow 3-room kitchens where two parallel runs keep everything within arm's reach. The constraint is circulation: if two people cook at the same time, it gets tight.
L-shape is the most flexible layout for 4-room flats. One arm handles wet work; the other handles prep and cooking. Adding a slim peninsula turns it into a social kitchen without structural work.
U-shape gives you the most counter and storage in a single kitchen footprint. The catch in HDB flats is ventilation: the third wall can block natural airflow, so ducted hood placement needs planning. It also ties in well with a service yard when the layout allows.
Single-wall is the right call when you want to open the kitchen to the living area. It works best in 3-room flats or where a partial wall hack is feasible. Pair it with a kitchen island or dining nook opposite to recover the prep surface you lose by going single-wall.
Open-concept conversions with islands are popular in Houzz galleries but come with a real cost: structural checks, ventilation rerouting, and sometimes electrical upgrades. Confirm feasibility with a contractor before you fall in love with the look.
Materials and finishes that hold up in a compact kitchen
Cabinet surfaces, countertops, backsplashes, and flooring all affect how large a small kitchen feels and how much maintenance it demands.
Cabinet finishes:
- Laminate — the most budget-friendly option; durable, easy to clean, available in hundreds of colors and textures. Avoid high-gloss in a narrow kitchen; it amplifies fingerprints and makes the space feel smaller.
- Lacquer — a smooth, painted finish that looks premium. More scratch-prone than laminate and harder to touch up, but the color range is essentially unlimited.
- Thermofoil — a vinyl wrap over MDF; good for curved profiles and budget-conscious renovations. Can peel at edges near heat sources if not properly installed.
- Real wood veneer — warm, natural look that works well in Japandi and Scandinavian styles. Needs sealing and periodic maintenance; avoid near the sink without proper edge treatment.
Countertops:
Quartz is the practical default for HDB kitchens: non-porous, heat-resistant to a point, and available in stone-effect finishes that look more expensive than they are. Granite is harder and more heat-resistant but requires annual sealing. Engineered alternatives like sintered stone (Dekton, Neolith) are gaining ground for their scratch and heat resistance, though they cost more.
Backsplashes:
Large-format subway tiles in a brick pattern are easy to clean and visually extend the wall. Fluted or ribbed tiles add texture without pattern complexity. For a budget-friendly option, a painted glass panel behind the hob is easy to wipe down and costs less than tiling the full wall.
Flooring:
Large-format tiles (600 mm x 600 mm or larger) reduce grout lines and make a small kitchen feel more continuous. Houzz photo galleries show terrazzo-effect tiles used at the kitchen-dining transition to signal the zone change while keeping visual flow. Specify an anti-slip finish rating appropriate for wet areas.
Appliances and fixtures sized for small HDB kitchens
Appliance footprints
Compact appliances are not a compromise; they are the right spec for most HDB kitchens.
- Slim fridge (55–60 cm depth) — a standard 60 cm deep fridge often blocks a cabinet door or drawer when open. A 55 cm slim model solves this without sacrificing much capacity.
- Two-burner or compact four-burner induction hob — induction saves counter depth compared with a gas hob plus separate wok burner setup. A two-burner unit works for most households and frees 20–30 cm of counter.
- Combination oven/air-fryer unit — a single built-in unit replaces a countertop air fryer and a separate oven. Specify the cavity size before ordering cabinetry.
- Slimline range hood (52 cm or 60 cm) — a low-profile hood keeps the upper cabinet line clean. Confirm whether ducted or recirculating suits your flat's ventilation path before purchase.
Under-cabinet LED lighting is technically a fixture, not an appliance, but it belongs in this conversation: it improves task visibility more than any single appliance upgrade.
Sink and tap choices
A single-bowl undermount sink with an integrated drainer board keeps the counter surface continuous and easier to wipe. For very narrow counters, a compact 45 cm single bowl works. A pull-out spray tap saves space versus a separate spray attachment and is easier to clean around.
Contractor checklist for appliances and fixtures
- Confirm fridge recess dimensions (width, depth, height) before cabinetry is built.
- Check electrical circuit capacity for induction hob (typically 13A or 20A dedicated circuit).
- Confirm hood ducting path to external wall or ceiling void; establish whether recirculating is the only option.
- Measure hood-to-hob clearance (minimum 65–75 cm for most hood models; check manufacturer spec).
- Confirm sink drain position relative to the P-trap and waste pipe; rerouting adds cost.
- Verify that the washing machine (if integrated) has a dedicated water inlet and drain point in the service yard or kitchen.
Renovation timeline and cost bands
A typical HDB kitchen renovation runs across six stages. Timelines below are descriptive ranges, not guarantees; actual duration depends on contractor availability, material lead times, and flat condition.
- Planning and design — 2–4 weeks: measurements, material selection, contractor quotes, and HDB permit checks where required.
- Demolition and hacking — 1–3 days: removing old cabinetry, tiles, and any approved wall hacking. HDB renovation guidelines specify which walls can be hacked and what approvals are needed.
- Wet trades — 3–7 days: tiling, waterproofing, and any plumbing rerouting.
- Cabinetry installation — 2–5 days: delivery and fitting of cabinets, countertops, and hardware.
- Mechanical and electrical — 1–3 days: hood ducting, electrical points, lighting installation.
- Final fit-out and snagging — 1–2 days: appliance installation, hardware adjustment, touch-ups.
Total elapsed time from first contractor meeting to handover typically runs 4–8 weeks for a standard kitchen, longer if custom cabinetry or stone countertops are involved.
Cost bands (qualitative):
- Budget — laminate cabinetry, ceramic tiles, standard appliances, no hacking. Suitable for 3-room flats or straightforward refreshes.
- Mid-range — quartz countertop, soft-close drawers, integrated hood, possible peninsula. Suitable for 4-room flats with moderate storage needs.
- Premium — custom carpentry, sintered stone countertop, fully integrated appliances, island with hacking. Suitable for 5-room flats or homeowners prioritizing a high-spec finish.
IKEA's METOD case study shows a total kitchen value for a 3-room BTO fit-out as an illustrative project cost, but treat any single vendor example as a reference point, not a universal benchmark. Get at least three itemized quotes before committing.
For a broader view of what different renovation scopes involve, the HDB renovation types guide on the Honestbuilders blog breaks down hacking, carpentry, electrical, and plumbing categories in detail.
Permit and technical notes to raise with your contractor:
- Structural wall hacking requires HDB approval; confirm which walls are load-bearing before designing an island.
- Ventilation ducting changes (new hood position, extended duct run) need to comply with HDB building works guidelines.
- Switching from gas to induction requires an electrical circuit upgrade; confirm with your contractor whether the existing DB box has capacity.
Design galleries like Houzz host hundreds of thousands of kitchen photos, which makes them genuinely useful for saving specific finish and layout combinations to share with a contractor at the quoting stage.
Pre-renovation checklist and questions to ask your contractor
Pre-renovation checklist
- Measure the kitchen: length, width, ceiling height, window and door positions, and the distance from the hob to the nearest external wall (for hood ducting).
- Photograph existing plumbing points, electrical outlets, and the service yard connection.
- Note appliance specs: fridge dimensions, hob type (gas or induction), hood model, and oven cavity size.
- Collect at least 10–15 inspiration photos (Houzz, Pinterest, IKEA case studies) that show the layout and finish you want.
- List your storage priorities: pots and pans, dry goods, small appliances, cleaning supplies.
- Confirm your budget band (budget, mid-range, premium) before the first contractor meeting.
- Check HDB renovation guidelines for any works that require prior approval (hacking, gas works, ventilation changes).
Questions to ask your contractor or designer
- How many HDB kitchen renovations have you completed in the last 12 months, and can you share photos?
- How do you handle ventilation ducting if the existing duct path is blocked or too short?
- Who manages the service yard connection, and is that included in the scope?
- What is your snagging process, and how many rounds of corrections are included?
- Do you use subcontractors for tiling or electrical? If so, who manages them and who is accountable?
- What warranties do you provide on cabinetry workmanship, waterproofing, and hardware?
- What is the payment schedule, and what triggers each payment milestone?
Warranty items to request in writing: cabinet hardware (hinges, runners, soft-close mechanisms), waterproofing behind tiles, workmanship on countertop joints and edge profiles.
Pro Tip: Before signing off on cabinetry, confirm the internal drawer dimensions in writing, not just the cabinet width. A 600 mm wide base unit can have a usable drawer interior as narrow as 520 mm depending on the runner system. Also confirm that soft-close undermount runners are specified, not side-mount clip-on runners, which wear out faster in a busy kitchen.
Key Takeaways
Thoughtful layout and drawer-first storage consistently deliver more daily value in HDB kitchens than premium surface upgrades alone.
| Point | Details |
|---|---|
| Layout first | Match your layout (galley, L, U, single-wall) to flat size and cooking habits before choosing finishes. |
| Drawers over doors | Deep soft-close drawers recover dead storage space in base units and reduce long-term maintenance. |
| Finishes for space | Matte or satin upper cabinets and large-format floor tiles make compact kitchens feel larger. |
| Appliance fit matters | Specify slim fridge depth, hob footprint, and hood clearance before cabinetry is built, not after. |
| Honestbuilders | Honestbuilders handles HDB kitchen renovations island-wide, covering hacking, carpentry, electrical, plumbing, and space planning in a single scope. |
What most HDB kitchen renovations get wrong
The mistake that shows up most often in HDB kitchen renovations is not choosing the wrong tile or the wrong cabinet color. It's underestimating storage and ignoring ventilation until the cabinetry is already built.
Homeowners spend weeks choosing between quartz and sintered stone, then discover on installation day that the hood duct can't reach the external wall without rerouting through a cabinet run. Or they specify beautiful handleless doors on every base unit and end up with shelves that leave the back third of every cabinet unreachable. These are not rare edge cases. They are the two most common snagging issues a contractor sees.
The fix is straightforward: prioritize the functional brief before the aesthetic one. Confirm the ventilation path, the drawer configuration, and the appliance footprints in the first contractor meeting. Once those are locked, the finish choices are genuinely low-stakes.
On pricing: a reputable contractor will give you an itemized quote that separates hacking, wet trades, cabinetry, electrical, and mechanical. If a quote is a single lump sum with no breakdown, ask for the line items. That's not being difficult; it's how you avoid surprises at the final invoice stage.
Honestbuilders handles your HDB kitchen renovation from brief to handover
Pulling together a kitchen renovation brief is the hard part. Honestbuilders makes the execution straightforward: one team covers hacking, electrical, plumbing, tiling, carpentry, and space planning for HDB kitchens island-wide, with no hidden charges and a clear workmanship warranty on every project.

When you reach out, include your floor plan or a rough sketch, photos of the existing kitchen, your appliance specs (fridge, hob, hood), and the budget band you're working within. That's enough for Honestbuilders to provide an itemized quote and schedule a site measure. For a full picture of what a residential renovation involves, visit the Honestbuilders website or WhatsApp +65 9447 9696 for a free, no-obligation quote.
If you're still in the planning phase, the HDB renovation checklist on the Honestbuilders blog walks through every pre-renovation step in detail.
Useful sources and inspiration resources
Save these before your first contractor meeting:
- Houzz HDB kitchen ideas — editorial examples of 12 layout and style approaches with photos; useful for showing a contractor the specific look you want.
- IKEA METOD 3-room BTO case study — a detailed walkthrough of a modular kitchen fit-out with drawer configurations, integrated lighting, and appliance placement; useful for understanding what a modular system can and can't do.
- Honestbuilders HDB renovation types guide — explains which work categories apply to kitchen renovations and which require specialist trades.
How to use these effectively: save at least 10 photos that show both the layout and the finish, note any appliance models visible in the photos, and bring them to your site-measure discussion. A contractor who can see exactly what you like will give you a more accurate quote than one working from a verbal description.