
Landed home renovation best practices are defined as the structured set of planning, compliance, and execution methods that protect your investment and produce lasting results. Renovating a landed property in Singapore is fundamentally different from upgrading an HDB flat or condo. The scope is larger, the regulatory requirements are stricter, and the cost of a misstep is far higher. Getting the process right from day one, from Urban Redevelopment Authority (URA) approvals through to the final punch list, is what separates a smooth project from a costly one.
1. What are the essential stages in the landed property renovation process?
The landed property renovation process follows seven distinct phases, and skipping any one of them creates problems downstream. Each phase builds on the last, so the sequence is not optional.
Phase 1: Assessment and feasibility. Walk every level of the property with a structural engineer and document existing conditions. Many older landed homes in Singapore carry undocumented alterations and level changes that directly affect what you can and cannot build. Discovering these surprises after design work is complete costs time and money.
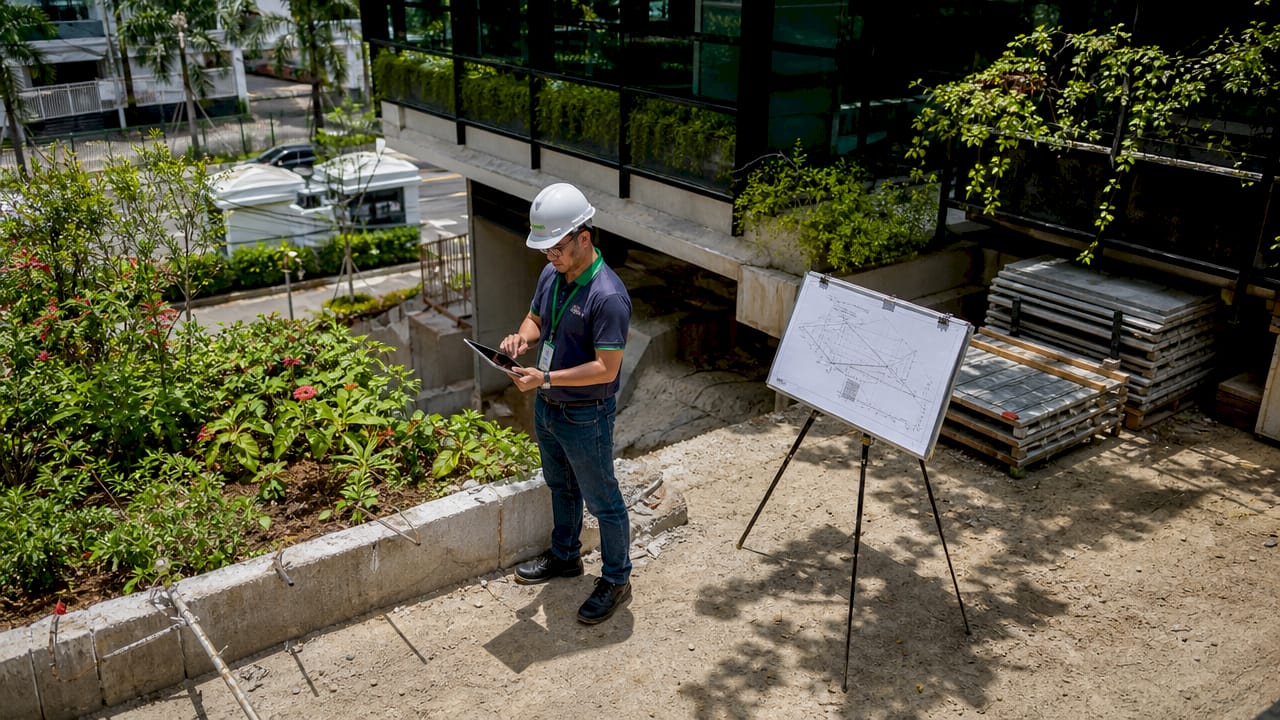
Phase 2: Approval risk check. Before a single design drawing is produced, verify planning controls. Height limits, setbacks, and facade restrictions all vary by property type and zone. Assessing approval risk early prevents time-consuming redesigns and keeps your scope realistic.
Phase 3: Design and documentation. Engage a qualified architect and structural engineer together, not sequentially. Early coordination between architectural intent and structural logic prevents on-site conflicts and failed submissions to the Building and Construction Authority (BCA).
Phase 4: Permits and procurement. Submit for planning permission and building plan approval. Simultaneously, lock in your material selections. Selecting all materials before construction starts avoids costly mid-project change orders and delays.
Phase 5: Construction. Follow the correct work sequence: demolition, structural modifications, systems rough-in, drywall, flooring, painting, then fixtures. Deviating from this order forces redundant labor and damages completed finishes.
Phase 6: Inspections and quality checks. Schedule inspections at each phase gate, not just at the end. Catching a plumbing rough-in error before the walls close costs a fraction of what it costs after.
Phase 7: Punch list and handover. Walk the completed project with your contractor and document every defect in writing. A signed punch list protects you legally and gives the contractor a clear target for closeout.
Pro Tip: Create a shared digital folder with your architect, engineer, and contractor from day one. Store all drawings, permits, and change orders in one place. This single habit eliminates the most common source of miscommunication on site.
2. How to ensure compliance with Singapore's landed property renovation regulations?
Singapore's regulatory framework for landed homes is specific and non-negotiable. The Urban Redevelopment Authority (URA) controls planning permission, while the Building and Construction Authority (BCA) governs structural and building plan approvals.
Key compliance considerations for landed property upgrades include:
- Setback requirements. Every landed property has minimum distances from the boundary that structures must respect. Violating setbacks triggers mandatory demolition.
- Building height limits. Residential zones cap the number of storeys and overall building height. These limits vary between Good Class Bungalow (GCB) areas and standard landed zones.
- Facade and external works. Changes to the external appearance of a conservation or character property require separate URA approval before any physical work begins.
- Structural submissions. Any work involving load-bearing walls, beams, or foundations requires a Qualified Person (QP) to submit and endorse structural plans to BCA.
- Site verification before design. Verify the as-built condition of the property against existing approved drawings. Discrepancies between documents and the actual site must be resolved before design is finalized.
"A design that looks clean on paper may fail on site due to omitted service requirements or site constraints." — Stellar Structures
Failing to consider planning controls like height limits or setbacks at the concept stage often leads to full redesigns or outright project rejection. The cost of a pre-design approval risk check is trivial compared to the cost of redrawing a completed set of construction documents.
3. What sequencing of renovation works prevents costly rework?
The correct renovation sequence is demolition and structural adjustments first, followed by systems rough-in, then finishes. This order exists for one reason: each phase creates conditions the next phase depends on.
| Phase | Work Included | Why It Comes Here |
|---|---|---|
| Demolition | Hacking, removal of walls and finishes | Clears the site for accurate structural assessment |
| Structural | Beams, columns, slabs, load-bearing walls | Must be complete before any services are threaded through |
| Systems rough-in | Electrical conduits, plumbing pipes, HVAC ducts | Hidden inside walls and floors before they are closed |
| Drywall and plastering | Wall boarding, skim coat | Covers systems; must follow inspection sign-off |
| Flooring | Tiles, timber, vinyl | Laid after walls are complete to protect edges |
| Painting | Walls, ceilings | Applied after flooring to avoid drips on finished surfaces |
| Fixtures and fittings | Lights, switches, sanitary ware, cabinetry | Final installation after all surfaces are complete |
Doing finish work before systems are inspected leads to redundant labor and damaged finishes. A contractor who installs tiles before the plumbing rough-in is signed off will likely be hacking those tiles out within weeks.
Pro Tip: Request a written inspection sign-off from your Qualified Person at the end of each structural and systems phase before allowing the next trade to begin. This one document prevents the most expensive rework scenarios.
4. What are the best material choices and contractor selection tips?
Material selection and contractor vetting are the two decisions that most directly determine whether your renovation holds up over five, ten, and twenty years.
Preferred materials by area
- Flooring. Porcelain tiles and engineered timber are the top choices for Singapore's humid climate. Both resist moisture better than solid hardwood or laminate.
- Cabinetry. Marine-grade plywood with a moisture-resistant finish outperforms particleboard in kitchens and bathrooms. It costs more upfront and lasts significantly longer.
- Wet area fixtures. Specify brass-bodied fittings over zinc alloy. Zinc alloy corrodes within three to five years in Singapore's water conditions.
- External walls. Use cement-based render with a quality elastomeric paint system. This combination handles Singapore's rain and UV load without cracking or peeling prematurely.
How to vet and hire contractors
- Verify the contractor holds a valid BCA registration for the relevant trade category.
- Request a portfolio of at least three completed landed projects with client references you can call.
- Obtain a minimum of three quotes. Wide price gaps between quotes signal either scope misalignment or a contractor cutting corners on materials.
- Insist on a fixed-price contract with a detailed bill of quantities. Vague lump-sum contracts are the primary source of billing disputes.
- Confirm the contractor carries public liability insurance before signing anything.
Poor DIY electrical work can void your home insurance and create serious safety hazards. Painting, minor demolition, and simple hardware swaps are appropriate for capable homeowners. Electrical, structural, and plumbing work require licensed professionals without exception.
Pro Tip: For bathroom accessories and fittings, a competent homeowner can handle installation with the right guidance. Honestbuilders publishes a step-by-step bathroom accessories guide that covers exactly which tasks are safe to DIY and which require a licensed plumber.
5. How to manage budget and unforeseen issues during renovation?
85% of renovation projects exceed their initial budget, according to the National Association of Realtors. That figure is not a warning to be cautious. It is a directive to plan for overruns from the start.
Build a 15–20% contingency into your total budget before construction begins. This reserve covers the most common surprises in landed renovations:
- Water damage and rot. Hidden behind walls and under floors, especially in properties over 20 years old.
- Outdated wiring. Pre-2000 landed homes frequently have undersized or non-compliant electrical systems that must be fully replaced.
- Structural surprises. Undocumented beams, columns, or foundation conditions that alter the structural design mid-project.
- Soil conditions. Relevant for additions and extensions where new footings are required.
Track every change order in writing and require contractor sign-off before any variation work begins. Mid-project design changes are the leading cause of cost overruns. Locking in your material selections and full scope before construction starts is the single most effective cost control measure available to you.
Schedule weekly site walkthroughs with your contractor. Regular communication catches problems when they are still cheap to fix.
Key takeaways
The most effective landed home renovation approach combines early approval checks, strict work sequencing, and a pre-locked budget with a 15–20% contingency reserve.
| Point | Details |
|---|---|
| Check approvals at concept stage | Verify URA and BCA requirements before any design work begins to avoid costly redesigns. |
| Follow the correct work sequence | Complete demolition and structural work before systems rough-in, and systems before finishes. |
| Lock in materials before construction | Finalizing selections upfront prevents change orders that blow budgets and timelines. |
| Vet contractors thoroughly | Confirm BCA registration, review landed project portfolios, and insist on fixed-price contracts. |
| Build in a 15–20% contingency | Most projects exceed initial budgets; a reserve fund prevents financial disruption mid-project. |
What I have learned from watching Singapore landed renovations go wrong
The single most common failure I see in landed renovations is not poor workmanship. It is a homeowner who approved a design before anyone checked whether URA would actually permit it. The redesign that follows costs three to four times what the original approval check would have cost. That is not a hypothetical. It happens on projects of every size and budget.
The second pattern I see is homeowners who treat the work sequence as flexible. They want the showroom-finish tiles laid early so they can visualize the space. The contractor obliges. Then the plumber needs to access a pipe, and those tiles come up. The proper sequence exists because each phase creates conditions the next one depends on. It is not a preference.
What actually works is hiring a Qualified Person and a main contractor who have worked together before. Their coordination removes the single biggest source of on-site conflict: the gap between what the architect drew and what the structural engineer will certify. Good space planning from the start also prevents the expensive late-stage layout changes that derail timelines.
My honest advice: spend more time and money on the pre-construction phase than feels necessary. Every dollar spent on thorough documentation, approval checks, and coordinated design saves three to five dollars in construction.
— Rayner
Honestbuilders can take the complexity out of your landed renovation
Landed renovations involve more moving parts than most homeowners anticipate. Coordinating architects, engineers, contractors, and permit submissions while managing a budget and timeline is a full-time job on its own.
Honestbuilders handles residential renovation for landed properties across Singapore, covering hacking, electrical, plumbing, tiling, carpentry, painting, and space planning under one roof. No hidden charges, no runaround. Every project is backed by the same two values: workmanship and accountability. If you want a team that shows up, does the job right, and stands behind the result, get a free quote from Honestbuilders today. WhatsApp +65 9447 9696 for a no-obligation consultation.
FAQ
What permits are required for a landed home renovation in Singapore?
Most structural and addition works on landed properties require planning permission from URA and building plan approval from BCA, submitted by a licensed Qualified Person. Minor internal works that do not affect the structure or external appearance may not require planning permission, but always verify with URA before starting.
How long does a full landed home renovation typically take?
A full landed renovation covering structural, systems, and finishes typically takes six to twelve months from design to handover, depending on scope and permit approval timelines. Projects that skip early approval checks frequently run longer due to redesigns and resubmissions.
What is the biggest cause of budget overruns in landed renovations?
Mid-project design changes are the leading cause of cost overruns. Locking in all material selections and finalizing the full scope before construction begins is the most effective way to control costs.
Can I do any renovation work myself on a landed property?
Painting, minor demolition, and simple hardware installation are appropriate DIY tasks. Electrical, structural, and plumbing work must be carried out by licensed professionals, as poor DIY work on these systems can void your home insurance and create safety hazards.
How do I choose the right contractor for a landed renovation?
Verify BCA registration, review a portfolio of at least three completed landed projects, obtain three or more quotes, and insist on a fixed-price contract with a detailed bill of quantities before signing.