
A handyman condo repair guide is a practical framework for managing common repairs inside your unit safely, correctly, and within the rules your condo sets. Condo associations handle exterior walls, roofing, and shared plumbing lines, while you are responsible for everything inside your unit boundaries. That split matters more than most owners realize. Neglecting minor issues inside your unit can escalate fast. Preventative maintenance inspections cost $250–$400, but ignoring small leaks or worn fittings can lead to water damage claims of $15,000 to $80,000. The math makes the case for staying on top of repairs.
What condo repairs can you DIY or hire a handyman for?
The key factor separating a handyman job from a contractor job is project scope and complexity. A handyman handles single-trade tasks that do not require a licensed contractor or building permit. A contractor steps in when the work crosses into structural changes, multi-trade coordination, or licensed electrical and plumbing territory.
Blake Voyer recommends handymen for fixture swaps, drywall patches, and minor carpentry, while reserving contractors for structural or multi-trade renovations. That guidance maps well to Singapore condos, where most units are concrete construction and the scope of interior work is tightly defined by management corporation rules.
Handyman-appropriate tasks for condo units:
- Patching drywall or skim-coat plaster
- Replacing light fixtures, ceiling fans, and switch plates
- Caulking around bathtubs, sinks, and window frames
- Fixing door hinges, handles, and cabinet hardware
- Swapping out faucets and showerheads
- Assembling and installing furniture
- Touching up paint on walls and trim
- Replacing toilet seats and bathroom accessories
Tasks that require a licensed contractor or specialist:
- Hacking concrete walls or structural elements
- Re-routing electrical wiring or adding new circuits
- Relocating plumbing stacks or drainage lines
- Any work touching common property or shared systems
Pro Tip: If your repair involves opening a wall or ceiling that may contain shared pipes or cables, stop and check your Master Deed or bylaws first. Shared infrastructure has a complex responsibility split, and accidental damage to common elements can make you liable for repairs far beyond your unit.
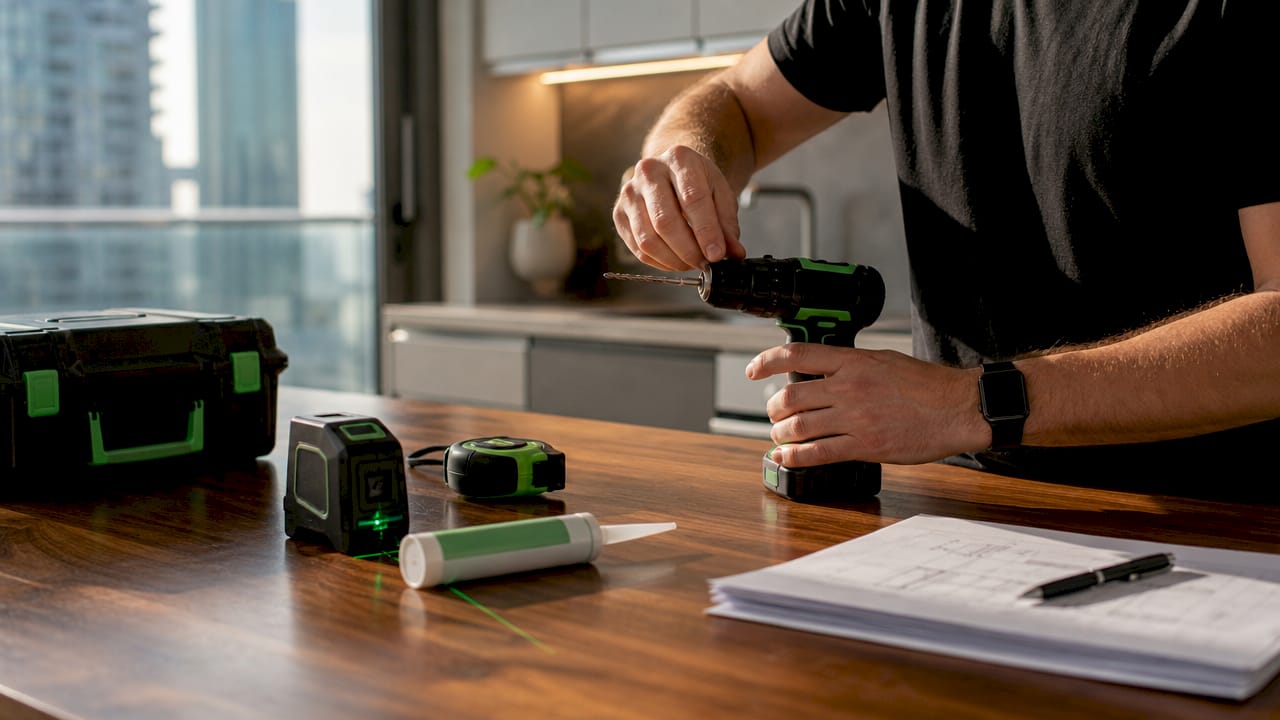
What are the best tools for condo repairs?
The right tools make the difference between a clean repair and a costly mistake. Entry-level tool kits cover most basic repairs, but high-rise condos require quality cordless hammer drills for concrete and CMU block walls common in Singapore construction. Standard anchors often fail in dense concrete. Investing gradually in better tools pays off over time.
Core hand tools every condo owner needs
A solid basic kit covers the majority of minor repairs without any power tools at all.
- Flathead and Phillips screwdrivers in multiple sizes
- Claw hammer
- Needle-nose and slip-joint pliers
- Adjustable wrench
- Tape measure and spirit level
- Utility knife
- Putty knife and spackle for wall patches
- Color-coded hex wrench set for furniture assembly
Power tools worth the investment
A cordless drill handles most jobs in drywall and timber. For Singapore condos with concrete walls, a cordless hammer drill is the upgrade that matters. It drives masonry anchors cleanly without cracking the surrounding surface. A good model with variable speed and a depth stop gives you control on tile and plaster surfaces too.
Stud finders and cable detectors are non-negotiable when drilling in high-rise condos. Post-tension cables and electrical conduits run through concrete slabs and walls. Hitting one is catastrophic and expensive. Always scan before you drill, and cross-reference with building blueprints when available.
Pro Tip: For bathroom fixture installation in a condo, use a tile drill bit at low speed with water cooling to avoid cracking tiles. Mark your anchor points with masking tape first. It gives the bit grip and protects the glaze.
How do you comply with condo board rules for repairs?
Singapore condo management corporations set rules that govern how and when repairs happen inside your unit. Violating those rules can result in fines, forced reversal of work, or damaged relationships with your management committee. Knowing the process before you start saves time and money.
The approval process for most minor handyman repairs is straightforward, but anything involving drilling, plumbing changes, or new fixtures may still require written notice. Condo renovations requiring permits often need 4–8 weeks for review, so plan ahead. Contingency funds of 15–20% are standard for any permitted work.
Typical steps for getting repair work approved:
- Review your condo's house rules and by-laws before planning any work.
- Submit a written request to the management office describing the scope, materials, and timeline.
- Provide contractor or handyman details, including their insurance certificate if required.
- Book the freight elevator in advance. Elevator access for renovations often requires a Certificate of Insurance listing the condo corporation as an additional insured.
- Confirm permitted working hours. Most Singapore condos restrict noisy work to weekdays between 9 AM and 5 PM.
- Get written approval before any work begins. Keep a copy on file.
Verifying your governing documents before repairs is not optional. Rules vary significantly between developments. What is allowed in one condo may be prohibited in another. Reading the documents once protects you from penalties every time after.
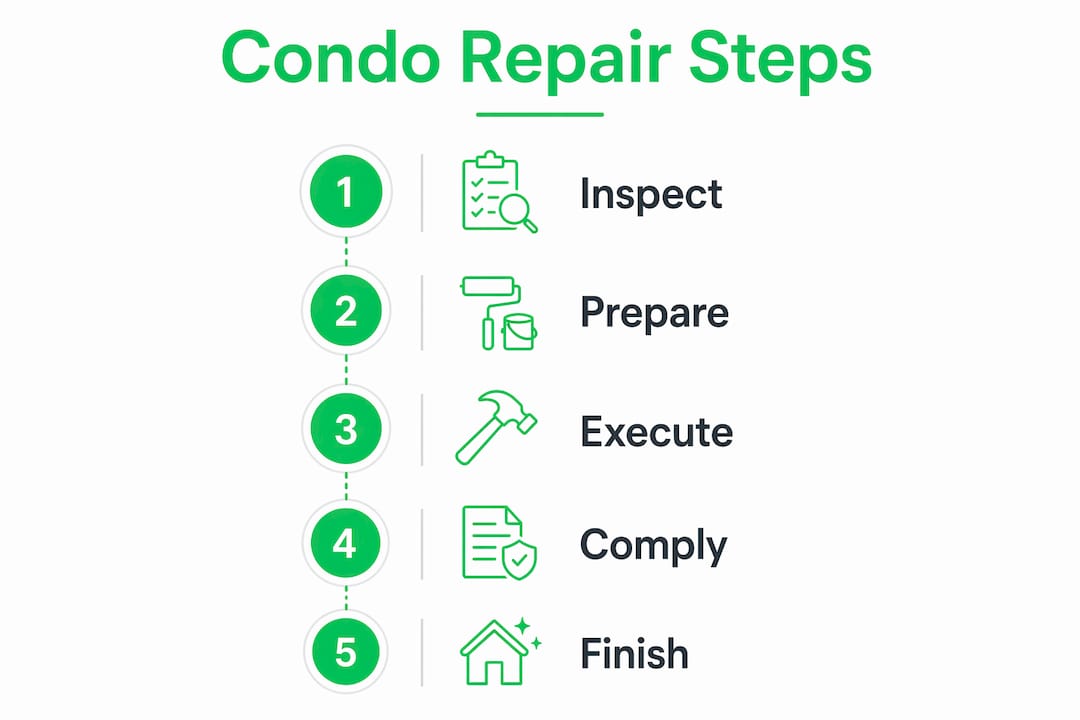
How to approach common condo repairs step by step
A structured approach prevents the most common mistakes condo owners make: skipping the inspection, buying the wrong materials, and rushing the finish. The process below applies to the majority of handyman-level repairs.
Step 1: Inspect before you touch anything
Walk through the repair area and document what you see. Check plumbing fixtures for drips or staining. Look at appliance hoses behind washing machines and under sinks. Industry experts recommend monthly leak checks, quarterly smoke and CO alarm testing, and annual appliance hose inspection. Appliance hoses should be replaced every few years regardless of visible condition.
Step 2: Prepare tools and materials before starting
Gather everything you need before opening a wall or turning off a water supply. Running to a hardware store mid-repair is how small jobs become big problems. For wall repairs, match your filler to the existing surface. Plaster walls need a different compound than drywall. For fixture replacements, bring the old part to the store or photograph the model number.
Step 3: Execute the repair in sequence
Follow this order for the most common condo repairs:
Drywall or plaster patching:
- Clean the damaged area and cut away loose material.
- Apply mesh tape over cracks or holes larger than a coin.
- Spread joint compound in thin layers, letting each coat dry fully.
- Sand smooth with 120-grit paper, then 220-grit for the final pass.
- Prime before painting to prevent the patch from showing through.
Fixture replacement (faucets, showerheads, toilet seats):
- Turn off the water supply at the isolation valve.
- Remove the old fixture and clean the mounting surface.
- Install the new fixture per the manufacturer's instructions.
- Turn the water back on slowly and check for leaks at every joint.
Caulking around wet areas:
- Remove all old caulk with a utility knife and caulk remover tool.
- Clean the joint with isopropyl alcohol and let it dry completely.
- Apply painter's tape on both sides for a clean line.
- Run a steady bead of silicone caulk in one pass.
- Smooth with a wet finger or caulk tool, then remove the tape before it dries.
Pro Tip: Never caulk over existing caulk. The new layer will peel within months. Full removal and a clean substrate are what make caulk last for years in Singapore's humid climate.
Common mistakes to avoid:
- Skipping the cable and stud scan before drilling
- Using interior paint in wet areas instead of moisture-resistant formulas
- Over-tightening fittings, which cracks ceramic and strips threads
- Starting noisy work before confirming permitted hours with management
Key Takeaways
A condo repair guide works best when you know your responsibilities, use the right tools, and follow your building's rules before picking up a drill.
| Point | Details |
|---|---|
| Know your repair boundary | Condo associations own shared systems; you own everything inside your unit. |
| Match the job to the right person | Use a handyman for single-trade tasks; hire a contractor for structural or multi-trade work. |
| Invest in the right tools | A cordless hammer drill and a cable detector are non-negotiable for concrete wall repairs. |
| Get approval before you start | Submit written requests and book the freight elevator before any repair work begins. |
| Follow a maintenance schedule | Monthly leak checks and annual appliance hose inspections prevent the most expensive damage. |
What I've learned from years of condo repairs in Singapore
Most condo owners underestimate how much the building's rules shape what they can actually do inside their own unit. I've seen owners drill into walls without checking blueprints, crack post-tension cables, and face repair bills that wiped out years of savings. The rule I follow without exception: scan before you drill, every single time.
The DIY versus handyman decision is simpler than people make it. If the job takes less than two hours, requires one trade, and does not touch anything behind the wall, you can likely handle it yourself with the right tools. If you are unsure about what is behind the surface, or if the repair involves water supply lines, call a handyman. If it involves structure or multiple trades, call a contractor. That three-tier decision tree has saved me from bad calls more times than I can count.
Proactive maintenance is the real money saver. A $30 tube of silicone caulk applied once a year around your bathroom joints prevents the kind of water ingress that destroys the unit below yours and triggers a $50,000 insurance dispute. Singapore's humidity accelerates every form of water damage. Staying ahead of it is not optional. It is the cheapest form of home insurance you have.
The condo owners I respect most treat their unit like a business asset. They keep records of every repair, every approval, and every contractor who has worked in the space. That documentation protects you when disputes arise with management or when you sell.
— Rayner
Honestbuilders is ready for your condo repair needs
Condo repairs done wrong cost far more than repairs done right the first time. Honestbuilders is Singapore's trusted handyman and renovation specialist, serving condo, HDB, landed, and commercial properties island-wide.

Whether you need a handyman for your condo or a full renovation with proper condo board compliance built in, Honestbuilders handles it with workmanship and accountability. No hidden charges, no runaround. The team understands Singapore condo regulations, works within permitted hours, and carries the documentation your management office requires. WhatsApp Honestbuilders at +65 9447 9696 for a free, no-obligation quote today.
FAQ
What repairs are condo owners responsible for in Singapore?
Condo owners are responsible for all repairs inside their unit boundaries, including fixtures, internal plumbing, walls, and flooring. The condo association maintains exterior walls, roofing, shared plumbing lines, and common systems.
When should I hire a handyman instead of a contractor?
Hire a handyman for single-trade tasks like fixture swaps, drywall patches, caulking, and minor carpentry. Hire a licensed contractor when the work involves structural changes, electrical re-routing, or multi-trade coordination.
Do I need condo board approval for minor repairs?
Minor repairs like painting or replacing a faucet typically do not need formal approval, but any drilling, plumbing changes, or work affecting shared walls may require written notice to management. Always check your condo's house rules first.
How do I drill safely into condo walls?
Use a stud finder and cable detector before drilling anywhere in a high-rise condo. Post-tension cables and electrical conduits run through concrete slabs and walls, and accidental damage is both dangerous and expensive.
What is the most cost-effective condo maintenance habit?
Monthly leak checks and annual appliance hose inspections are the highest-return maintenance habits. Preventative inspections cost $250–$400, while undetected water damage can result in claims of $15,000 to $80,000.