Furniture assembly step by step is the process of methodically connecting panels, hardware, and components to transform flat-pack or ready-to-assemble (RTA) items into stable, usable furniture pieces. Done correctly, it prevents structural failures, surface damage, and safety hazards. The most common furniture types homeowners tackle are flat-pack wardrobes, bed frames, bookshelves, and TV consoles. Each requires a Phillips screwdriver, a hex key set, a rubber mallet, and a cordless drill with adjustable torque control. Getting the sequence right from the start is what separates a wobble-free result from a frustrating rebuild.
What tools and workspace setup do you need for furniture assembly?
The right tools prevent the most common assembly errors before they happen. A standardized tool kit for flat-pack furniture includes a Phillips screwdriver, a hex key set, a rubber mallet, a cordless drill with adjustable torque, a level, and a tape measure. Each tool serves a specific purpose. The rubber mallet seats dowels without cracking panels. The level confirms your frame is square before you commit to final tightening.
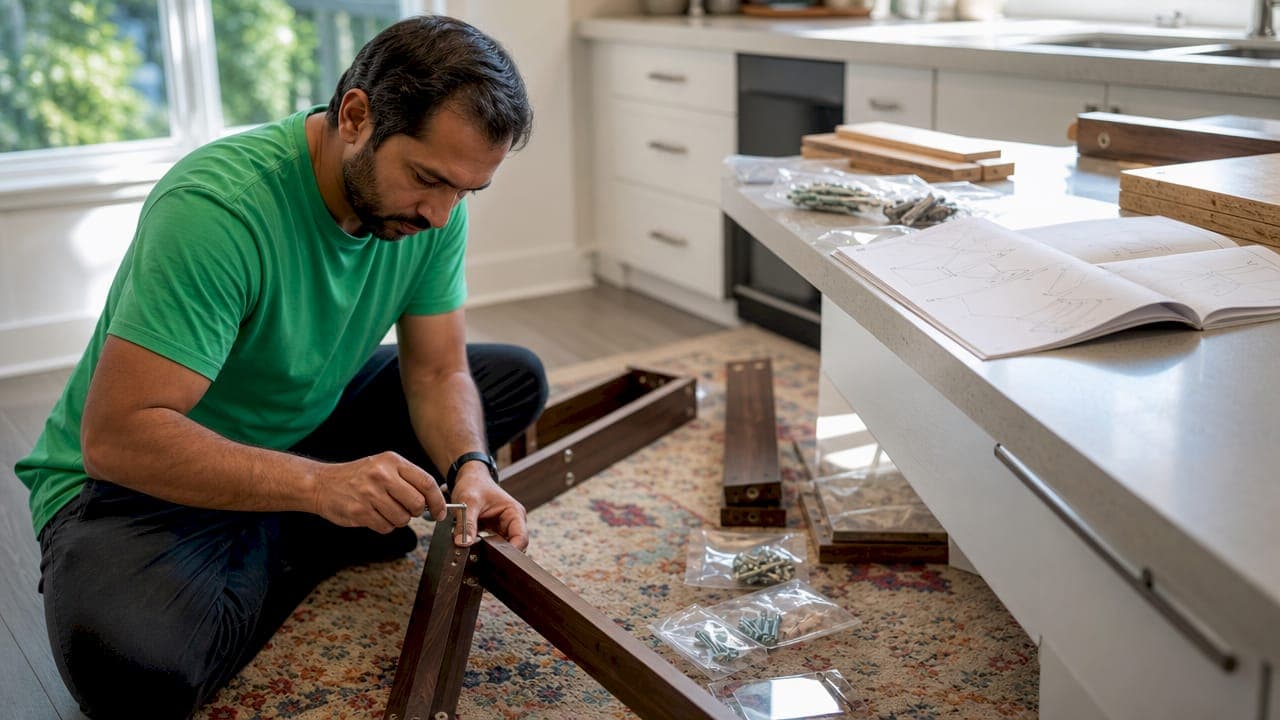
Your workspace matters as much as your tools. Lay a moving blanket, yoga mat, or thick cardboard on the floor before unpacking. This protects finished surfaces from scratches during assembly. You need at least 3 feet of clearance on all sides of the largest panel. Good overhead lighting is not optional. Dim conditions cause you to misread diagrams and install parts backward.
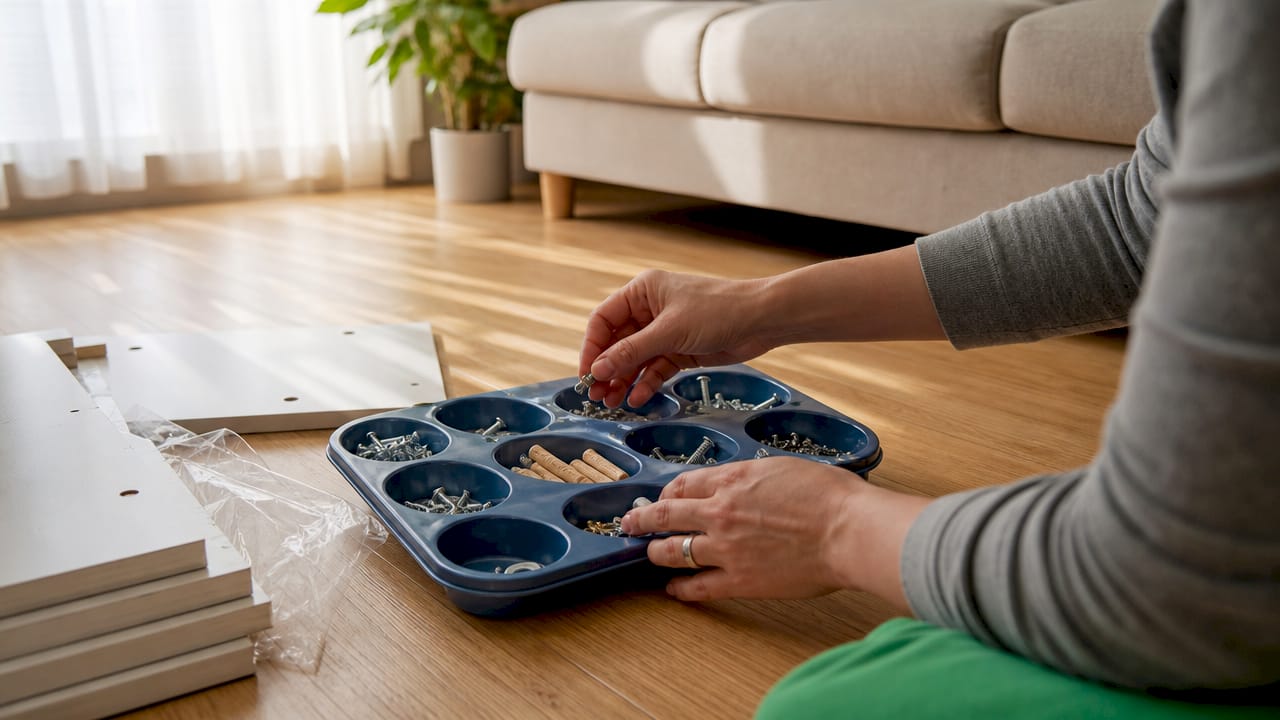
Hardware organization is where most homeowners lose time. Sort every bag of screws, cam locks, and dowels into a muffin tin or small sorting tray before you start. Label each compartment with a marker. Count every piece against the parts list in the manual. A missing cam lock discovered mid-assembly costs you 20 minutes of backtracking.
Pro Tip: Photograph every page of the instruction manual with your phone before you begin. Zoom in on complex diagrams during assembly without hunting for the paper booklet.
What is the step-by-step sequence for assembling furniture?
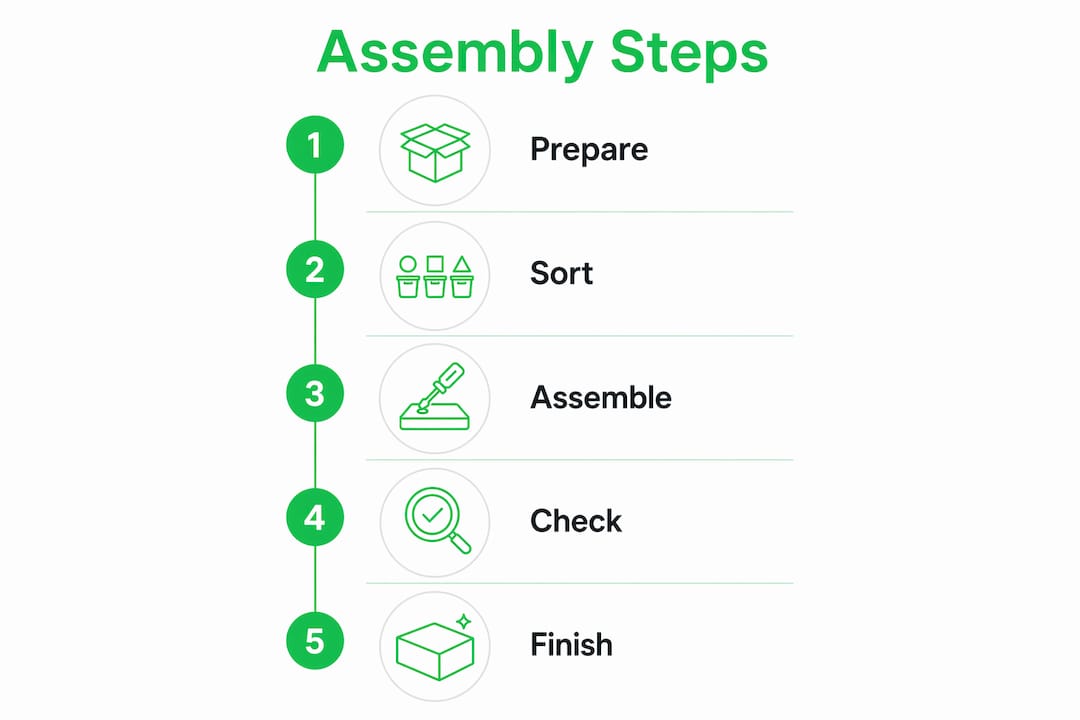
A 10-step assembly process is the industry best practice for flat-pack furniture. Following this sequence reduces errors, prevents damage, and keeps the process safe.
- Inventory check. Lay out every panel and bag of hardware. Cross-reference each item against the parts list. Report missing pieces to the manufacturer with photos before proceeding.
- Read the full manual. Read every page before touching a single panel. Skipping this step is the leading cause of errors such as reversed panels and wrong fastener use.
- Sort hardware. Separate screws, cam locks, dowels, and bolts into labeled compartments.
- Prepare the workspace. Clear the floor, lay down a protective surface, and position panels within easy reach.
- Sequential sub-assembly. Build smaller sections first, such as drawer boxes or door frames, before joining them to the main carcass.
- Hand-tighten first. Insert all fasteners by hand before using any tool. This keeps panels adjustable.
- Square the frame. Push the structure gently into alignment. Professional assemblers leave fasteners at roughly 80% tightness until alignment is confirmed. Squaring first prevents wobbling.
- Final tightening. Once the frame is square, tighten all fasteners fully. Set your cordless drill to the lowest torque setting and hand-tighten the final turn to feel resistance.
- Test functionality. Open drawers, swing doors, and press down on shelves. Identify any movement or misalignment before moving the piece.
- Wall anchoring and cleanup. Anchor tall units to the wall. Remove all packaging and dispose of it safely.
Pro Tip: Apply a small amount of wood glue inside dowel holes before seating them. Manuals rarely mention this, but it adds significant long-term stability to particleboard joints.
The time you need depends on the size and complexity of the piece. Use this as a planning reference:
| Furniture type | Typical assembly time |
|---|---|
| Nightstand or side table | 30–45 minutes |
| Bookshelf or TV console | 45–90 minutes |
| Bed frame (queen or king) | 90–120 minutes |
| Wardrobe with sliding doors | 2 hours or more |
Assembly timelines vary significantly based on size and complexity. Budget extra time for your first attempt with any new furniture type.
For pieces over 4 feet tall, a second person is not optional. Rushing assembly is the main cause of both safety hazards and surface damage. A helper holds panels steady while you drive fasteners, which prevents the frame from racking out of square.
What are the most common furniture assembly mistakes?
Most assembly failures trace back to a short list of avoidable errors. Recognizing them before you start is the fastest way to protect your time and your furniture.
- Skipping the manual. Reading instructions fully before starting prevents reversed panels, wrong fastener placement, and wasted effort. Treat the manual as the blueprint, not a suggestion.
- Over-tightening cam locks. Cam locks must be hand-tightened just enough to hold during early stages. Forcing them strips the particleboard hole permanently. A stripped hole cannot be repaired without wood filler and a wait time.
- Rushing the process. High torque from a power drill cracks composite panels or drives screws straight through surfaces. Slow down at every fastener.
- Skipping wall anchoring. Failing to anchor tall furniture to walls leads to an estimated 22,000 annual injuries in the US. Particleboard furniture lacks the structural rigidity of solid wood, which makes tip-over risk real.
- Substituting missing hardware. Never replace a missing bolt with a hardware store equivalent. Contact the manufacturer, request the correct part, and wait. Wrong hardware compromises the joint's rated load capacity.
Furniture tip-overs cause an estimated 22,000 injuries every year in the US. Anti-tip anchoring is not a finishing touch. It is a safety requirement, especially in homes with children or pets. Always secure tall units to a wall stud using the anti-tip strap or bracket included with the furniture.
How do you troubleshoot and add finishing touches after assembly?
A completed assembly is not finished until you test every moving part and address any instability. Start by opening and closing every drawer. Drawer slides have adjustment screws on the side of the runner that let you raise, lower, or shift the drawer left or right. A drawer that catches or drags almost always needs a half-turn adjustment, not a full disassembly.
Check hinges on cabinet doors next. Most concealed hinges have three adjustment points: depth, height, and lateral position. A door that sits crooked needs a lateral adjustment of one to two millimeters. This takes 30 seconds with a Phillips screwdriver and eliminates the gap between door and frame.
Test overall stability by pressing down on each corner of the top surface and rocking the unit gently. Any wobble points to a fastener that needs tightening or a foot leveler that needs adjustment. Address wobbles now. They worsen over time as the joints settle under load.
- Tape the included Allen key to the back or underside of the furniture. You will need it for retightening after 6–12 months of use.
- Take a photo of the assembled piece from multiple angles. This helps if you ever need to disassemble and reassemble it after a move.
- Dispose of all cardboard and plastic packaging promptly. Flat-pack boxes are large and create a tripping hazard in tight spaces.
Pro Tip: Add adhesive felt pads to the bottom of all four feet before placing the furniture on hardwood or tile floors. This prevents scratching and makes repositioning easier.
Key Takeaways
Successful furniture assembly depends on preparation, sequence, and patience. Skipping any phase increases the risk of structural failure, surface damage, or injury.
| Point | Details |
|---|---|
| Prepare tools and workspace first | Gather a Phillips screwdriver, hex key set, rubber mallet, and cordless drill before opening any box. |
| Read the full manual before starting | Skipping the manual is the leading cause of reversed panels and incorrect fastener use. |
| Square the frame before final tightening | Leave fasteners at 80% tightness until alignment is confirmed to prevent wobbling. |
| Always anchor tall furniture to the wall | Tip-overs cause an estimated 22,000 injuries annually in the US. Use the included anti-tip hardware. |
| Tape the Allen key to the furniture | You will need it for retightening after 6–12 months of regular use. |
What I've learned after watching hundreds of assemblies go wrong
The single biggest predictor of a clean result is not skill. It is patience at the start. Homeowners who spend 10 minutes sorting hardware and reading the full manual before touching a panel finish faster and with fewer errors than those who dive straight in. That counterintuitive fact holds up every time.
The squaring step is where most DIY assemblies quietly fail. People tighten as they go, panel by panel, and end up with a structure that is locked into a slightly twisted position. The wobble never fully goes away after that. Leaving fasteners loose until the whole frame is assembled and checked is the one technique that separates a professional result from an amateur one.
Wall anchoring is the step I see skipped most often. The anti-tip strap looks like an afterthought, but it is not. A tall wardrobe or bookshelf filled with books can tip under surprisingly little force. If you have children or pets in your home, this step is non-negotiable.
The satisfaction of finishing a piece correctly is real. Each successful assembly builds confidence for the next one. But knowing your limits matters too. Complex pieces with electrical components, heavy stone tops, or built-in mechanisms are worth handing to a professional. There is no shame in that call.
— Rayner
When professional assembly makes more sense
Some furniture projects go beyond what a single person can safely handle at home. Large wardrobes, platform beds with storage drawers, and modular shelving systems with 50-plus components take time, space, and a second set of hands.

Honestbuilders provides professional handyman services across HDB, condo, and landed properties in Singapore. The team handles furniture assembly for all property types, from single-room renters to full-home setups. Every job comes with a fixed quote upfront, no hidden charges, and a workmanship guarantee. If you want the furniture done right without the risk of stripped holes or a wobbly wardrobe, WhatsApp Honestbuilders at +65 9447 9696 for a free, no-obligation quote.
FAQ
What tools do I need for DIY furniture assembly?
The core kit includes a Phillips screwdriver, hex key set, rubber mallet, cordless drill with adjustable torque, level, and tape measure. These tools cover the vast majority of flat-pack and RTA furniture builds.
How long does furniture assembly take?
Smaller pieces like nightstands take 30–45 minutes, while large wardrobes can take two hours or more. Assembly time depends on the number of components and your familiarity with the instructions.
Why does my assembled furniture wobble?
Wobbling almost always means the frame was not squared before fasteners were fully tightened. Loosen the joints slightly, push the frame into alignment, and re-tighten with all corners checked.
Do I need to anchor furniture to the wall?
Yes. Tall furniture must be anchored to a wall stud using the anti-tip strap or bracket included with the piece. Tip-overs cause an estimated 22,000 injuries annually in the US, and the risk is highest in homes with children or pets.
What should I do if parts are missing from the box?
Contact the manufacturer directly and provide photos of the missing hardware. Never substitute parts from a hardware store. Incorrect fasteners compromise the joint's load capacity and void the warranty.