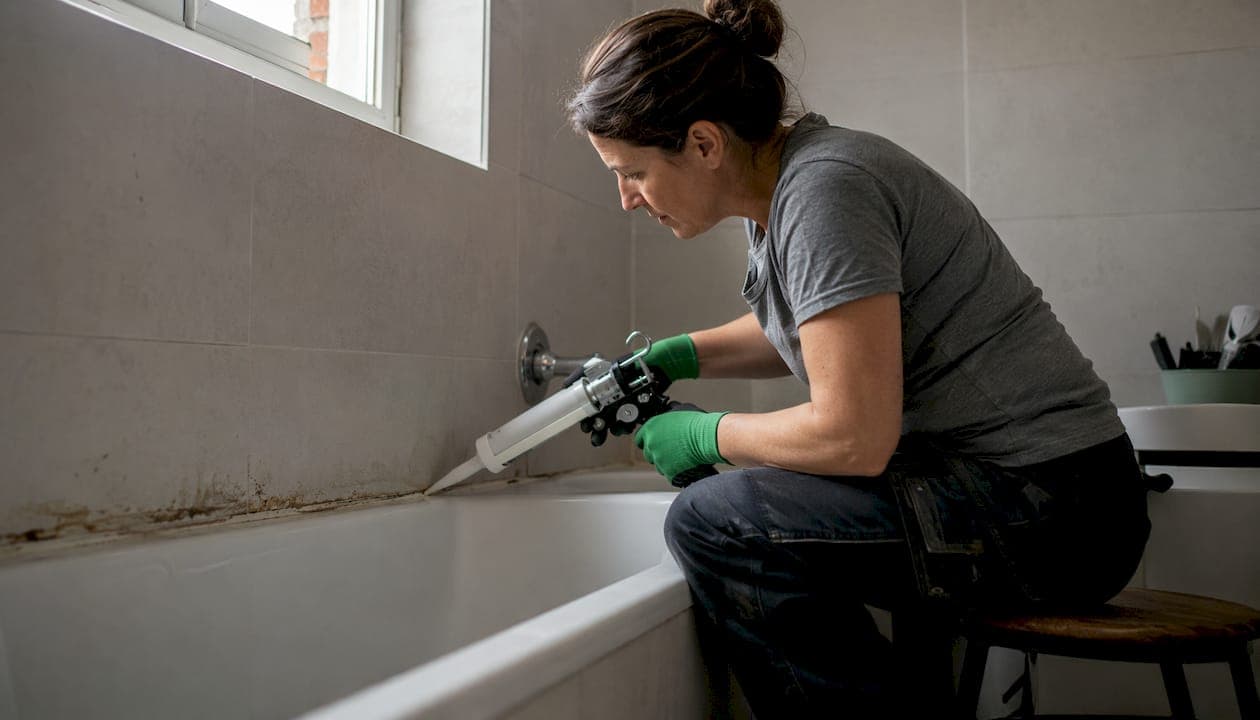
Caulking creates the flexible, waterproof barrier that keeps water out of wall framing, subfloors, and hidden cavities. When that bead fails, water wicks silently behind tiles and tubs, and hidden water damage can rot framing and delaminate flooring long before you notice anything wrong. The role of caulking in bathroom repair is not cosmetic — it is your first line of defense against structural decay and mold.
The short version:
- Inspect every caulk seam in your bathroom at least once a year.
- Replace any cracked, pulled, or discolored bead immediately using 100% silicone in wet joints.
- If you find soft flooring, ceiling stains below the bathroom, or a musty smell that won't quit, stop and call a professional before resealing anything.
Table of Contents
- What does caulking actually do in a bathroom?
- Where exactly should you caulk in a bathroom?
- Which caulk should you use where?
- How do you know it's time to recaulk?
- How to recaulk a bathroom: step by step
- Common mistakes that make bathroom caulk fail faster
- What does a bathroom reseal actually cost?
- When should you call a professional instead of DIYing?
- Key Takeaways
- The part most guides skip
- Useful sources for further reading
- Honestbuilders handles what a tube of caulk can't fix
What does caulking actually do in a bathroom?
Caulk is a flexible sealant applied at changes of plane — where the tub meets the wall, where tile corners meet, where fixtures penetrate surfaces. Unlike grout, which is rigid and brittle, caulk stretches and compresses as the house settles and as the tub flexes under the weight of water and a person. That flexibility is the whole point.
The moisture barrier function matters most at seams that see direct water contact. When the bead is intact, water runs down the tile face and into the drain. When it fails, water finds the gap and wicks into the wall cavity, where it sits against drywall backing, wood framing, and OSB subfloor — materials that absorb moisture and deteriorate slowly. Slow wicking leaks are the dangerous kind because they show no visible signs until the damage is already expensive.
Good caulking also cuts off the moisture supply that mold needs. Mold germinates in cavities where water collects and air circulation is poor. Seal the entry point and you remove the condition.
Pro Tip: Caulk is a moisture barrier, not a structural fix. Sealing over a loose tile or a wet substrate traps moisture inside and makes the underlying damage worse, not better.
- Prevents water from reaching wall framing and subfloor
- Reduces mold risk by blocking moisture entry into cavities
- Accommodates movement that rigid grout cannot handle
- Protects drywall backing, wood framing, and floor assemblies from rot
Where exactly should you caulk in a bathroom?
Every seam where two surfaces meet at an angle, and every penetration through a wet surface, needs a caulk bead. Here is the inspection checklist:
| Location | What to Look For | Risk if Missed |
|---|---|---|
| Tub-to-tile / tub rim | Gaps, pulling away, discoloration | Water behind tile, rot in framing |
| Shower pan perimeter | Cracks, separation at floor-wall joint | Subfloor saturation, mold |
| Vertical tile corners | Cracked or missing bead | Water wicking into corner cavity |
| Vanity top edges | Gaps between countertop and wall | Water damage to cabinet and wall |
| Faucet and trim plates | Loose plates, missing sealant | Water behind wall at plumbing |
| Toilet base | Separation from floor | Sewer gas, floor rot (seal front only) |
| Floor transitions | Gaps at threshold or transition strip | Water under flooring |
| Plumbing penetrations | Any gap around pipe entry points | Moisture in wall cavity |
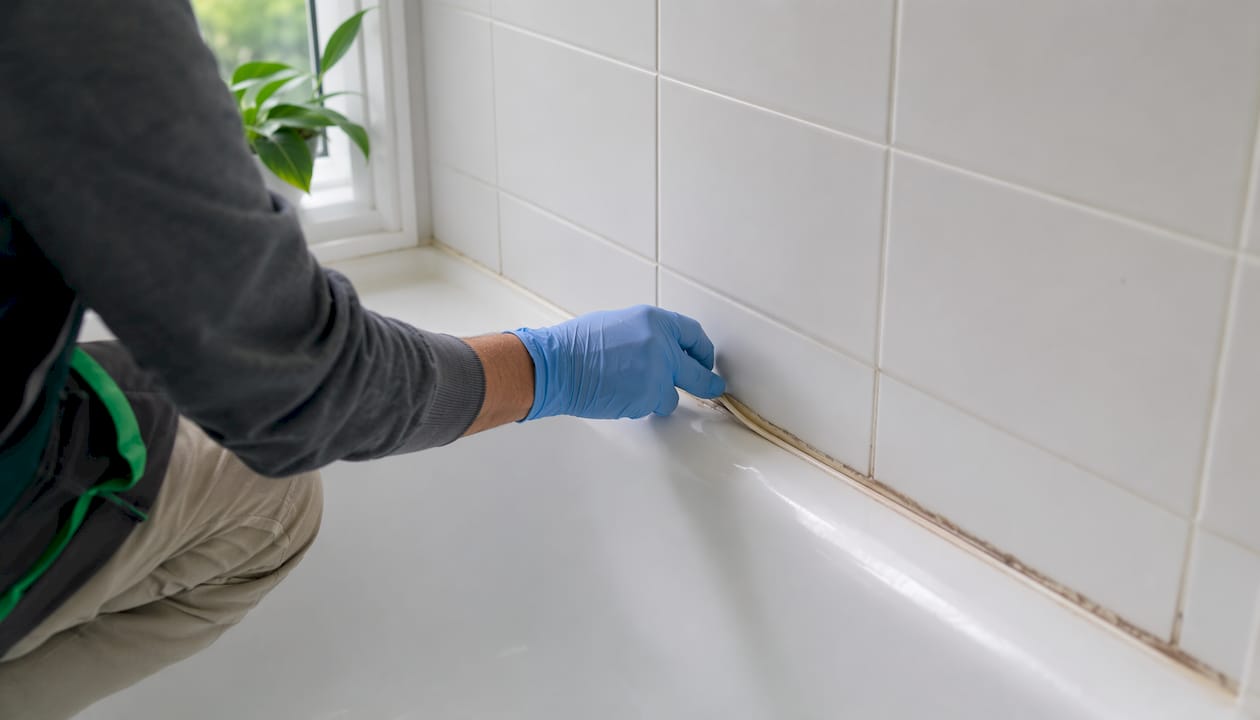
When inspecting, run a dry finger along each bead. Caulk that pulls away when wiped, shows color changes that won't clean off, or feels spongy underneath is already failing. Pay extra attention to the tub rim — it looks like a cosmetic seam but it is one of the highest-risk joints in the bathroom because the tub flexes every time it fills.
Which caulk should you use where?
The material choice is where most DIY reseal jobs go wrong. Using the wrong product in a wet joint means the repair fails within months.
| Caulk Type | Best For | Avoid Using When |
|---|---|---|
| 100% silicone | Tub-to-wall, shower joints, wet seams | You need to paint over it |
| Siliconized acrylic (latex) | Trim, dry joints, paintable surfaces | Direct water contact |
| Polyurethane | Exterior joints, floor transitions | Submerged or high-humidity wet zones |
| MS polymer hybrid | Wide movement joints, unusual substrates | Standard tub/shower reseal |
For a standard tub or shower reseal, 100% silicone is the right choice. It stays flexible under load, resists mildew, and remains waterproof for 5–10 years in direct-water conditions. Acrylic latex is cheaper and easier to apply, but it cracks and separates in wet joints because it loses elasticity once cured.
- Look for labels that say "100% silicone," "bath/kitchen," and "mildew-resistant" — all three together.
- For gaps wider than 1/4–1/2 inch, insert a foam backer rod first so the caulk has the right depth-to-width ratio and won't crack under movement.
- Avoid products labeled "acrylic caulk with silicone" for wet joints — the silicone content is minimal and the performance is closer to plain acrylic.
The Department of Energy notes that cured silicone allows stretch of up to three times the normal joint width, which explains why it outlasts acrylic in moving joints by years.
How do you know it's time to recaulk?
A fresh bead of 100% silicone typically lasts 5–10 years under normal conditions. High-use bathrooms, poor ventilation, and hard water all shorten that window. Inspect yearly regardless of age.
Visual signs to act on immediately:
- Cracks or gaps anywhere along the bead
- Caulk pulling away from the tile or tub surface
- Persistent discoloration or dark spots that don't clean off
- Mold growth embedded in the bead itself
Functional signs that suggest hidden damage:
- Musty smell that lingers after cleaning
- Soft or spongy flooring near the tub or shower
- Ceiling stains in the room below the bathroom
- Loose tiles near seams — the adhesive behind them may have failed due to moisture
If you see only visual signs, a DIY reseal is reasonable. If you see functional signs, stop. Resealing over wet or damaged substrate traps moisture and accelerates rot rather than stopping it.
How to recaulk a bathroom: step by step
A proper reseal on a standard tub run takes about 90 minutes of active work, plus 24 hours of cure time.
Tools and materials:
- 100% silicone caulk (bath/kitchen, mildew-resistant)
- Caulk gun
- Utility knife or oscillating tool
- Silicone remover (chemical softener)
- Backer rod (for gaps over 1/4 inch)
- Rubbing alcohol and clean rags
- Masking tape
- Smoothing tool or wet finger
- Gloves
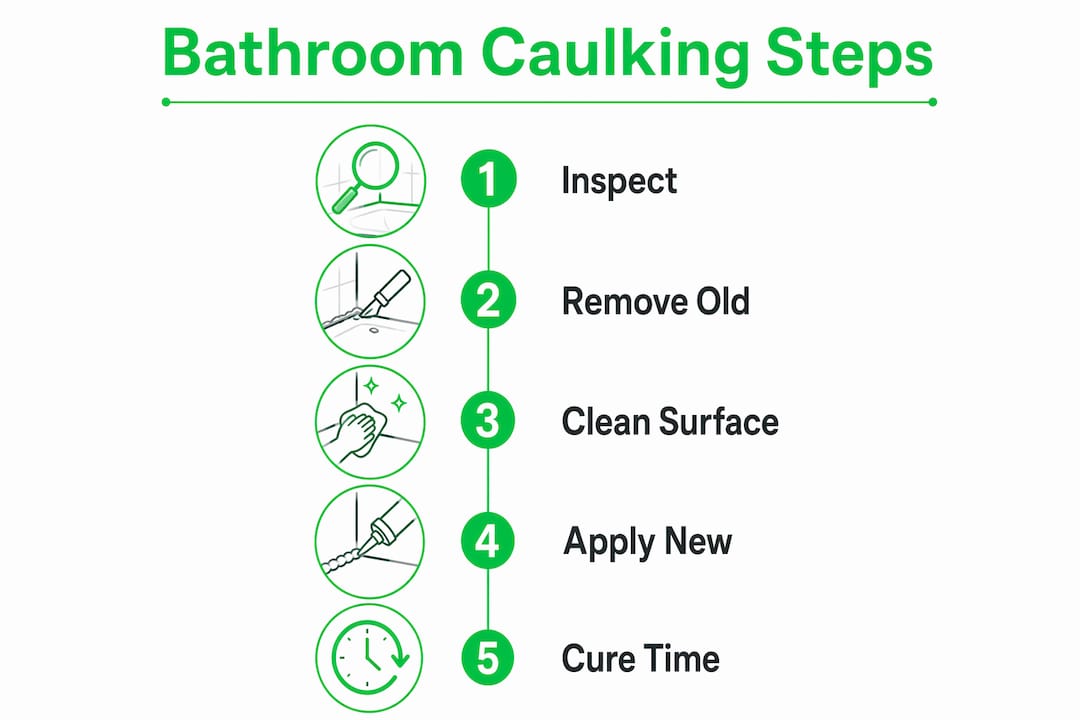
Step-by-step:
- Remove all old caulk. Cut along both edges with a utility knife, then pull the bead free. Use a silicone remover to soften any residue. Complete removal is the single most important step — new caulk will not bond over old residue or cured silicone.
- Clean the joint. Wipe with rubbing alcohol and let it dry completely. If the joint feels damp, use a hair dryer on low heat and wait. Silicone will not cure properly over moisture.
- Fill the tub with water before applying caulk. This loads the tub to its working position. The bead will then cure with the joint slightly open, so when the tub drains and contracts, the caulk compresses rather than stretches and tears.
- Apply masking tape along both sides of the joint for clean lines.
- Insert backer rod if the gap is wider than 1/4 inch.
- Apply a consistent bead at a 45-degree angle, moving steadily without stopping.
- Tool the bead immediately with a wet finger or a caulk tool. Remove the tape before the surface skins over.
- Allow full cure. Most 100% silicone products require approximately 24 hours for full waterproof strength. Fast-cure products may claim 4–8 hours, but conditions like humidity and temperature affect actual cure time. Follow the manufacturer label.
- Ventilate the bathroom during and after application.
Do not use the tub or shower until the caulk has fully cured. If you notice the wall flexes when you press it during prep, that is a substrate problem, not a sealant problem — stop and investigate before proceeding.
Common mistakes that make bathroom caulk fail faster
The most expensive caulk mistake is also the most common: applying a new bead over old, failed caulk. The new layer bonds to the old residue, not to the tile or tub, and fails within weeks. Every reseal starts with full removal.
- Using acrylic in wet joints. Acrylic caulk is designed for interior dry surfaces. In a tub-to-wall joint, it cracks and separates within a year or two.
- Skipping the backer rod on wide gaps. Caulk spanning an unsupported void acts as a structural bridge, which it is not built to do. It tears.
- Resealing over damp or contaminated surfaces. Silicone will not bond to moisture, soap residue, or old sealant. The prep is not optional.
- Ignoring trapped moisture. Sealing a joint that has active moisture behind it locks the problem in.
The tub-fill trick is the one step most homeowners skip and then wonder why their fresh bead cracks within six months. Fill the tub before the caulk cures. It takes five minutes and it changes how the bead sets permanently. Pros do this every time.
Pro Tip: Press the wall firmly near the seam before you start. If it gives slightly, you have a substrate or framing issue. A new bead of caulk will not fix that — and sealing over it will make the repair more expensive later.
What does a bathroom reseal actually cost?
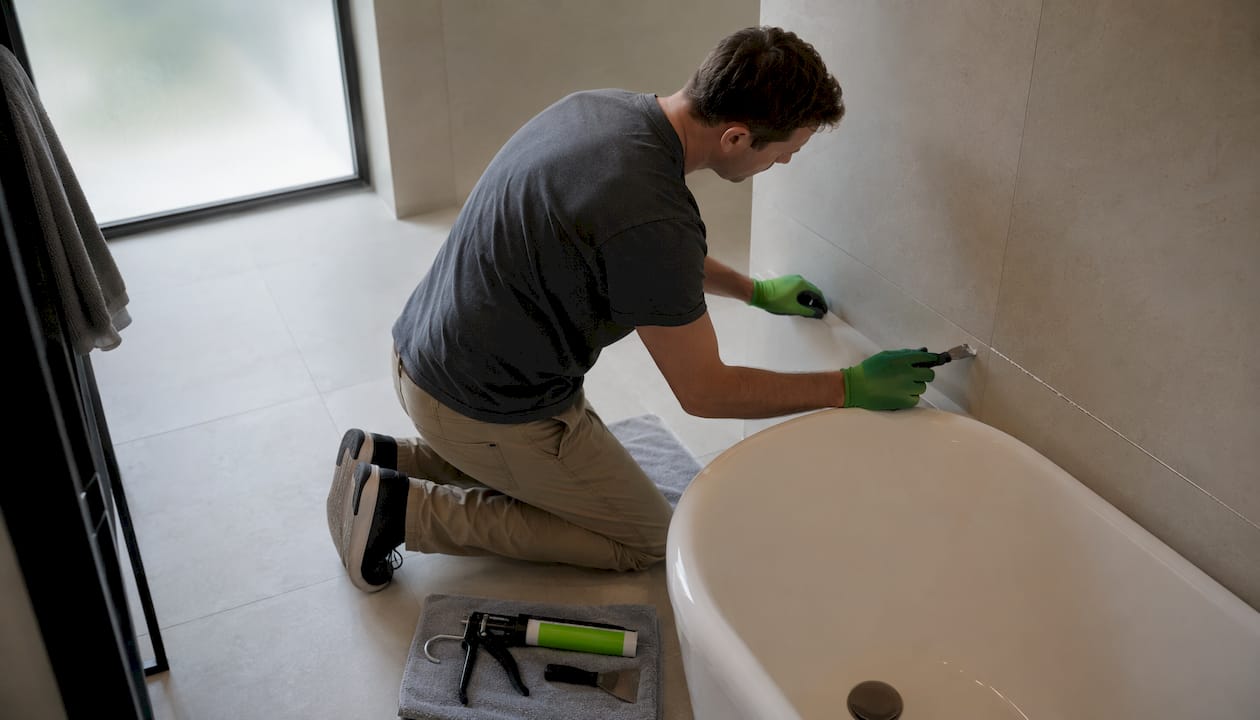
For a standard tub or shower reseal, DIY material costs are low. A tube of 100% silicone runs roughly $6–$15. A basic caulk gun costs $10–$20 if you don't own one. Backer rod, masking tape, and silicone remover add another $10–$15. Total DIY outlay: under $50 for most jobs.
| Scope | DIY Cost | Pro Cost | Time |
|---|---|---|---|
| Standard tub reseal (materials only) | $50 | $150–$300 | 90 min active + 24 hr cure |
| Reseal with minor tile repair | $50–$100 | $150–$300 | Half day |
| Substrate damage (drywall/framing) | Not DIY | $3,000+ | 1–3 days |
| Mold remediation + reseal | Not DIY | $3,000+ | Varies |
The cost jumps sharply the moment hidden damage enters the picture. A reseal job that reveals wet drywall, rotted framing, or active mold is no longer a $50 project. For context on renovation pricing across different scopes, professional assessments typically start with a site visit before any quote is finalized.
Budget notes:
- Fast-cure silicone costs more but does not meaningfully change the total job cost.
- Professional labor for a clean reseal with no hidden damage is often $150–$300 for a standard tub run.
- If a contractor quotes substrate repair, get a second opinion and ask to see the damage before approving work.
When should you call a professional instead of DIYing?
Some signs during inspection mean the job has moved past a simple reseal. Stop and call a licensed contractor or water-damage specialist if you find any of the following:
- Soft or spongy flooring near the tub or shower — water has reached the subfloor.
- Ceiling stains in the room below — water has been traveling through the floor assembly.
- Persistent moisture after a previous reseal — the source is not the caulk seam.
- Loose or missing tiles that reveal a wet substrate — the adhesive layer has failed due to prolonged moisture.
- Mold growth beyond the surface bead — especially dark spots that extend into grout or appear on the wall face.
- The gap reopens within a few months of a fresh reseal — structural movement is the likely cause.
A professional brings tools a homeowner typically doesn't have: moisture meters, thermal imaging cameras, and the ability to open walls safely to assess framing. Wet substrate requires framing or drywall repair before any new sealant goes in. Skipping that step and resealing anyway is how a $50 fix becomes a $3,000 wall replacement.
For a broader look at what professional bathroom waterproofing involves beyond the caulk bead, the scope often includes membrane systems and substrate prep that go well beyond what a tube of silicone can address.
Key Takeaways
Proper caulking prevents hidden water damage by sealing movement joints with 100% silicone, inspecting yearly, and stopping immediately when structural signs appear.
| Point | Details |
|---|---|
| Inspect annually | Check every seam and penetration once a year; replace failed beads before water reaches the substrate. |
| Use 100% silicone in wet joints | Acrylic caulk fails quickly in tub-to-wall and shower joints; silicone stays flexible and waterproof for 5–10 years. |
| Remove old caulk completely | New sealant will not bond over residue; full removal is the primary factor in how long a reseal lasts. |
| Stop if you see structural signs | Soft floors, ceiling stains, or persistent moisture mean hidden damage — reseal after professional substrate repair, not before. |
| Honestbuilders for pro repairs | When the scope goes beyond a reseal, Honestbuilders handles substrate assessment, tiling, and full bathroom repairs. |
The part most guides skip
Most caulking articles treat the bead as the whole story. It isn't. The bead is the last line of defense, and it only works when everything behind it is dry and solid. The homeowners who end up with the expensive repairs are almost never the ones who skipped the caulk — they are the ones who resealed over a problem that was already developing.
The tub-fill curing trick is the most underused piece of practical advice in this space. Fill the tub before the silicone cures. It takes five minutes and it fundamentally changes how the bead sets under real-world load. Pros do it every time because they have seen what happens when you don't.
Honestbuilders approaches caulk-related failures the same way: inspect first, test the substrate for moisture and flex, fix what's behind the wall if needed, then reseal. That sequence matters. A new bead on a compromised substrate is not a repair — it is a delay.
Useful sources for further reading
These resources cover manufacturer guidance, removal techniques, and water-damage assessment in more detail:
- Caulking | U.S. Department of Energy — material types, application conditions, and silicone flexibility data
- Bathroom Caulk Failure: Hidden Water Damage Risk | ADRI — inspection signs and structural risk from failed seals
- Bathtub Resealing: Silicone vs. Caulk | Horow — cure times, material selection, and the tub-fill technique
- Caulking the Bathroom: Dos and Don'ts | Bob Vila — prep, removal, and common application mistakes
- Backer Rod Use in Caulking | Natural Handyman — when and how to use backer rod for wide gaps
- Bathroom Caulk: Reseal or Stop? | Fondsites — substrate testing and when to call a professional
Honestbuilders handles what a tube of caulk can't fix
A straightforward reseal is a solid DIY project. But the moment you find soft flooring, ceiling stains, or a wall that flexes under pressure, the job has changed — and that is where most homeowners need a professional who can assess the substrate, repair what's damaged, and reseal correctly the first time.

Honestbuilders provides handyman and renovation services across Singapore, covering everything from a single reseal to full bathroom substrate repair, tiling, and waterproofing. No hidden charges, no runaround. If you have found signs of hidden water damage or you want a professional to handle the reseal so it lasts, get a free quote via WhatsApp at +65 9447 9696. For homeowners weighing DIY against professional help, this overview of renovation providers is a useful reference for understanding what different scopes typically involve.