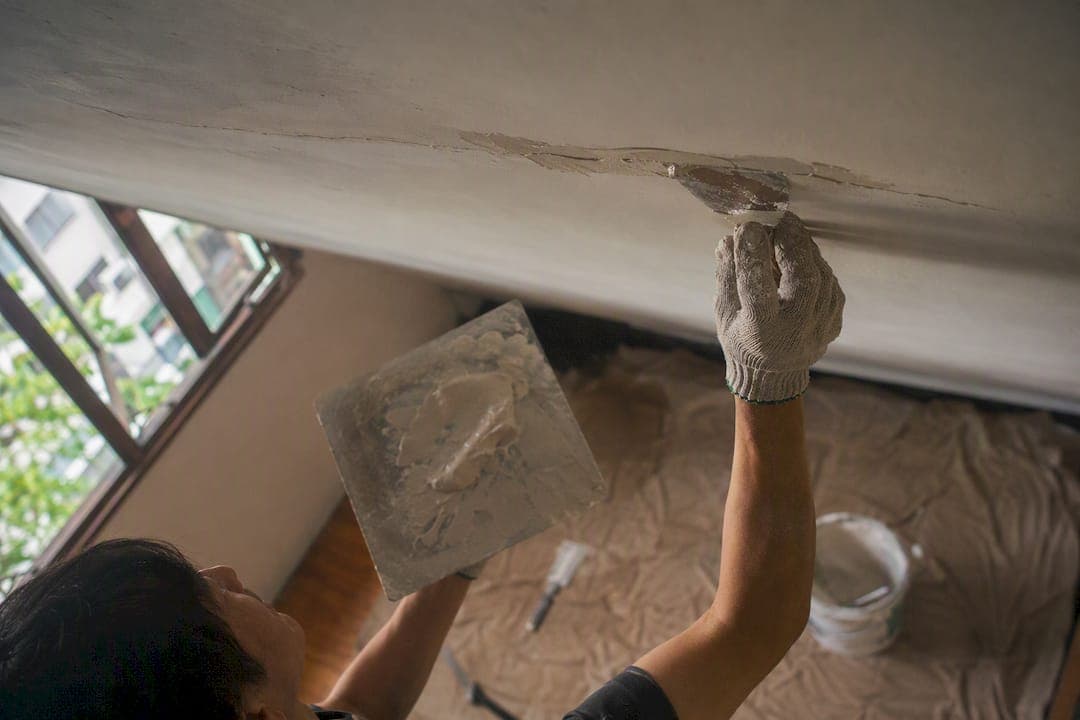
Most plaster ceiling cracks come from one of three things: structural movement, moisture damage, or plaster that has lost its grip on the wood lath behind it. Start with three moves before you touch anything else:
- Inspect the crack's shape, width, and location.
- Document it with a photo, a ruler for scale, and today's date.
- Decide whether it's a weekend patch job or a call to a professional.
A hairline crack usually means shrinkage or cosmetic settling. A crack that's widening, bulging outward, or dropping chunks of plaster on your floor means stop reading and start calling someone.
Key Takeaways
Plaster ceiling cracks stem from structural movement, moisture damage, or a lost mechanical key to the lath, and re-securing the plaster always has to happen before any cosmetic fix.
| Point | Details |
|---|---|
| Diagonal cracks signal structure | Cracks near corners or columns often trace back to settlement or overloading upstairs. |
| Hollow sound means detachment | Tapping the ceiling and hearing a hollow echo means the plaster has lost its key to the lath. |
| Key before you fill | Open cracks into a V-groove and re-secure loose plaster with screws or washers before patching. |
| Match materials to movement | Fiberglass mesh and setting compound hold up better than paper tape on cracks still shifting. |
| Water problems come first | Fix the leak and let the area dry fully before any replastering begins. |
Table of Contents
- Why Do Plaster Ceilings Crack? The Main Causes
- How Do You Tell If a Ceiling Crack Is Serious?
- How to Fix Plaster Ceiling Cracks Yourself
- When Should You Call a Professional for Ceiling Cracks?
- Preventing Future Plaster Ceiling Cracks
- How Long Does Plaster Ceiling Repair Take, and What Does It Cost?
- Ready to Fix It Right the First Time?
- Frequently Asked Questions
- Sources
Why Do Plaster Ceilings Crack? The Main Causes
Plaster ceilings crack because something behind or beneath the surface is moving, weakening, or pulling away. The pattern the crack takes usually tells you which mechanism is at work.
Structural movement is the big one. Foundation settlement, framing that shrinks as lumber dries out over the years, or extra weight from renovations upstairs all put stress on the ceiling. This kind of movement tends to produce diagonal or stepped cracks near corners, door frames, and load-bearing columns, because those are the points where structural stress concentrates.
Lost key or lath detachment is specific to true plaster ceilings (as opposed to drywall). Old-school plaster was pressed through gaps in wood lath strips, where it curled over and hardened into little hooks called keys. Decades of vibration, humidity swings, or age can snap those keys. Once that happens, the plaster is essentially hanging there rather than gripping anything, and it sounds hollow when you tap it.
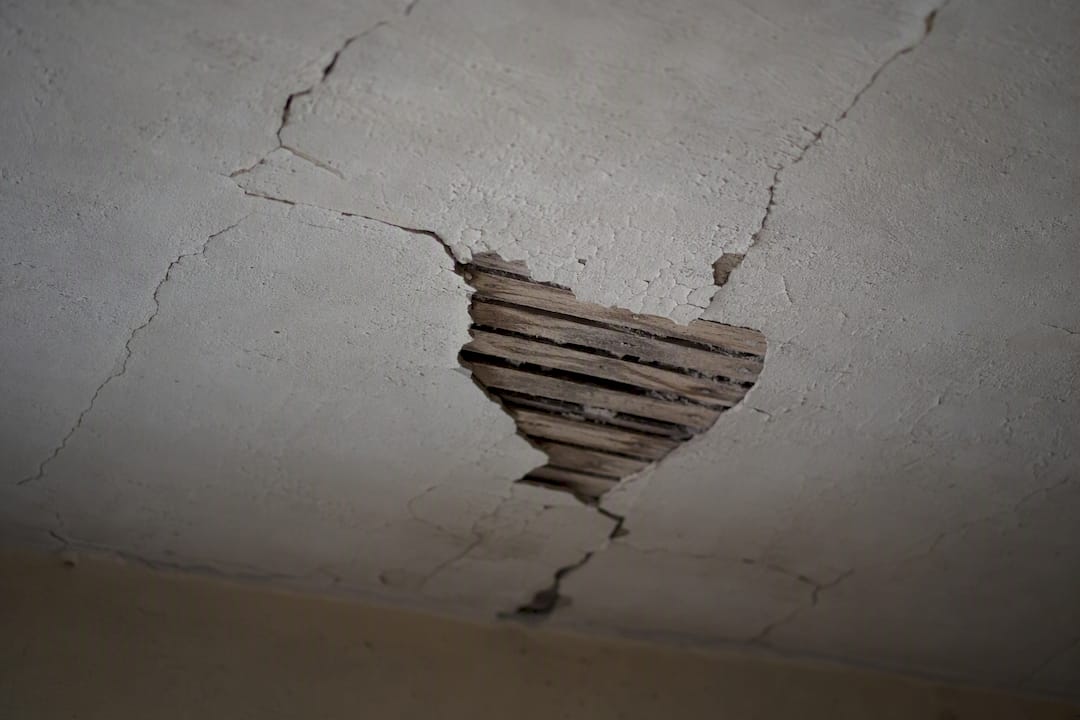
Moisture and water damage soften plaster and dissolve its bond to the lath. A slow roof leak, a plumbing drip from the bathroom above, or chronically high indoor humidity can all be the culprit, and the water source has to be fixed before any patch will hold.
Other contributors worth knowing:
- Thermal and moisture cycling, which expands and contracts building materials with the seasons
- Shrinkage in newly applied plaster or an off-ratio mix job
- Point loads and vibration, like someone walking across the attic joists above
Modern drywall ceilings crack for somewhat different reasons, mainly framing shrinkage and long unbroken runs without control joints, but the diagnostic logic (movement versus moisture versus poor installation) still applies.
How Do You Tell If a Ceiling Crack Is Serious?
Run this quick checklist before deciding your next move:
- Measure the width. Under 2 millimeters and hairline in appearance usually points to cosmetic shrinkage.
- Note the shape. Diagonal or stepped cracks near corners suggest structural stress. Web-like "map cracking" is typically just surface aging.
- Check for stains or bulging. Discoloration or a sagging belly in the plaster means water is involved, and possibly weight the ceiling can no longer support.
- Tap it. A hollow sound or any give when you press means the plaster has delaminated from the lath. That's not a cosmetic crack anymore.
- Look in the attic if you can. Daylight through the roof deck, damp insulation, or sagging joists all explain a ceiling crack from above.
Then monitor. Photograph the crack next to a tape measure, mark both ends in pencil with the date, and check monthly. Seasonal humidity and temperature swings can widen or narrow a crack, which is normal movement, but a crack that keeps growing month over month is not.
Pro Tip: Keep a small folder of dated crack photos on your phone. If you ever need to hire someone, a two-month record of measurements saves them (and you) a lot of guesswork on whether the movement is active.
Call a professional immediately if you see a widening crack, a bulging section of ceiling, active moisture staining, or matching cracks in the walls or foundation below.
How to Fix Plaster Ceiling Cracks Yourself
DIY makes sense for hairline, stable cracks where the plaster is still firmly attached to the lath. If the area sounds hollow when tapped, or the crack keeps reopening after a patch, that's a re-securing job, not a filling job. Skip DIY entirely if you see sagging, staining, or notably wide cracks.
For a crack that qualifies as DIY, here's the sequence:
- Key the crack. Open it into a shallow V-shaped groove with a utility knife or crack chaser. This gives the patch material something to lock into mechanically instead of just bridging the surface, which is the single biggest reason DIY patches fail.
- Clear out loose debris. Vacuum or brush away dust and crumbled plaster from the groove.
- Re-secure any loose plaster. If a small section flexes under gentle pressure, drive plaster washers or drywall screws through the plaster into the lath or joist before filling.
- Bridge with mesh for wider gaps. Fiberglass mesh tape or a strip of metal lath over the crack adds strength that flexible joint compound can't provide on its own.
- Apply setting-type compound in thin layers, letting each layer cure per the manufacturer's instructions, then finish with a skim coat and light sanding.
You'll need: a utility knife or crack chaser, setting-type joint compound, plaster washers or screws, fiberglass mesh tape, metal lath for larger repairs, a putty knife, a tape measure, and basic eye and dust protection.
The mistakes that bring the crack right back:
- Painting or filling over a hollow, delaminated area without screwing it down first
- Using only a flexible surface filler on a crack caused by ongoing movement
- Mixing setting compound off ratio or forcing it to dry fast with a heater or direct sun
Pro Tip: If the crack has reopened once already after a paint-over patch, the plaster has almost certainly lost its key. Re-securing it to the lath first, using screws or an injection adhesive, is what actually stops the cycle of cracking and re-patching.
When Should You Call a Professional for Ceiling Cracks?
Bring in a professional when you notice hollow or delaminated plaster, a visibly bulging ceiling, cracks wider than roughly 6 millimeters, water staining, or a crack that has reopened more than once despite a proper repair. Any of these can point to a structural issue that cosmetic filling won't touch.
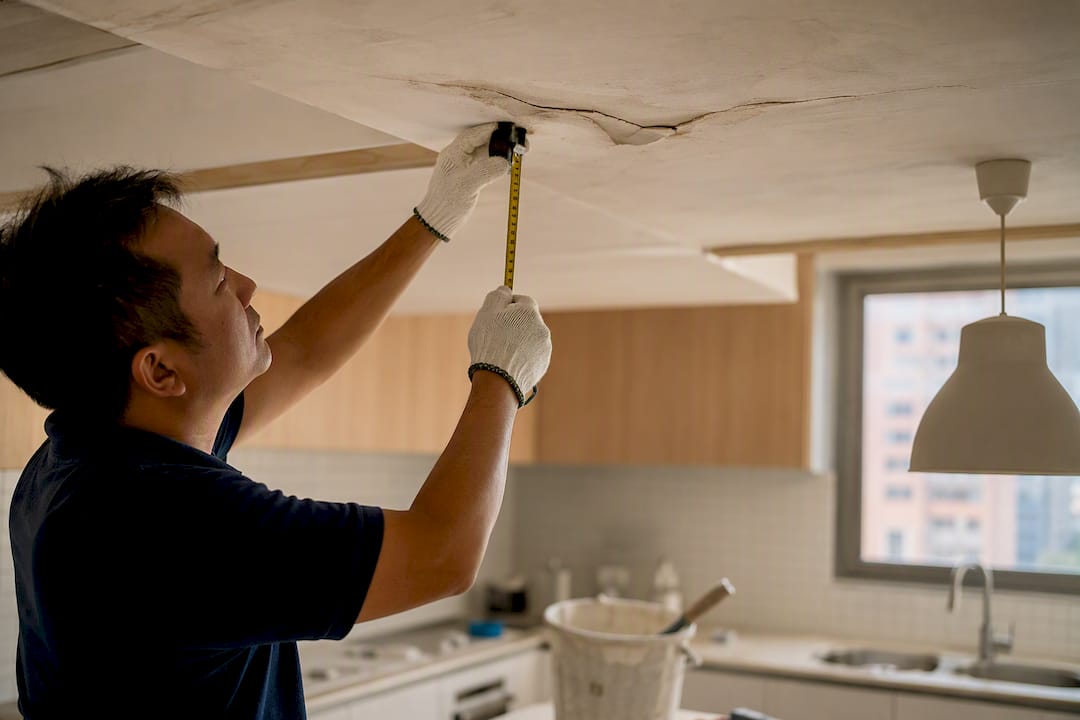
A qualified contractor typically starts with a plaster condition survey to map how much of the ceiling has lost adhesion, not just where the visible crack sits. From there, repair options range from injection adhesives that re-bond small delaminated areas to removing plaster in a band around the crack, fitting new metal lath, and replastering in three coats. If the survey turns up sagging joists or foundation movement, that structural work has to happen before any cosmetic finish goes on, or you'll be redoing it in a year.
Before hiring, ask about their specific plaster (not just drywall) experience, whether they include a written condition survey, if they provide before and after photos from past jobs, proof of insurance, a realistic timeline, and whether structural work gets subcontracted or handled in house. Our guide to HDB handyman repairs covers similar vetting questions for smaller repair jobs.
Preventing Future Plaster Ceiling Cracks
Most prevention comes down to controlling water and weight. Fix roof leaks, gutter overflow, and plumbing drips as soon as you spot them, and keep indoor humidity in check with proper attic ventilation to avoid condensation buildup. Avoid piling heavy storage directly on attic joists, and spread weight out rather than concentrating it in one spot. If you're renovating upstairs, our guide to space planning in renovation covers load distribution basics worth knowing before you move walls or add fixtures. Catch hairline cracks early with mesh tape and setting compound before they widen into a lath-detachment problem.
How Long Does Plaster Ceiling Repair Take, and What Does It Cost?
A small cosmetic fill on a stable hairline crack is often a one-day job, start to finish. Re-securing loose plaster and finishing a patch usually runs 1 to 3 days, largely because setting compound needs time to cure between coats. A full re-lath and three-coat replaster job can stretch several days to a week, depending on drying time and how many coats the plaster type requires.
Cost swings on a few variables: the size and location of the damaged area, whether lath replacement or structural repair is needed, how accessible the ceiling is (a stairwell ceiling costs more to reach than an open room), local labor rates, and material choice, since lime plaster and gypsum plaster price out differently.
When comparing quotes, ask for an itemized scope rather than a lump sum, confirm whether moisture remediation is included if water damage caused the crack, and get more than one bid whenever a contractor suggests structural work.
Small Fixes That Prevent Big Repeat Repairs
Re-securing loose plaster to the lath with washers, screws, or injection adhesive before any surface fill is the step that actually stops recurrence, not the cosmetic layer on top.
- Use fiberglass mesh tape and setting-type compound on cracks that might still be moving; paper tape and flexible joint compound tend to reopen where movement persists.
- Never rush fresh plaster with a space heater or direct sunlight; let it cure at the pace the manufacturer specifies.
A Renovation Contractor's Take on Getting the Diagnosis Right
Correct diagnosis is everything here. Fill a delaminated crack without addressing the lath, and you're just buying a few months before it opens right back up. When there's real doubt, a proper condition survey from a team like Honestbuilders beats guesswork every time.
Ready to Fix It Right the First Time?
Chasing the same crack every six months usually means the real problem, whether it's a lost key, an active leak, or settling framing, never got addressed. Honestbuilders handles residential renovation across HDB, condo, and landed properties in Singapore, including plaster and ceiling repair, lath work, and the electrical or plumbing fixes that often sit behind a water-damaged ceiling. WhatsApp us at +65 9447 9696 for a free, no-obligation quote, or check out our renovation and handyman services to see how we scope a job before we touch your ceiling.
Frequently Asked Questions
Why does my plaster ceiling keep cracking in the same spot? The plaster has likely lost its mechanical key to the lath in that area, so any surface patch just bridges a gap that keeps flexing. Re-securing the plaster with screws, washers, or injection adhesive before refilling is what stops the cycle.
Is a hairline crack in a plaster ceiling dangerous? Usually not. A crack under about 2 millimeters wide with no hollow sound, staining, or bulging is typically cosmetic shrinkage and safe to patch yourself.
Can I paint over a plaster ceiling crack without repairing it? You can, but it almost always comes back within months if the plaster has lost adhesion underneath. Paint hides a crack; it doesn't fix the detachment causing it.
How much does professional plaster ceiling repair cost? It depends heavily on the size of the damaged area, whether lath replacement is needed, and local labor rates. Request an itemized quote and compare a few bids if structural work is on the table.
Should I worry if the crack changes size with the seasons? Some seasonal width change is normal and reflects thermal and humidity movement in the building. Consistent growth over multiple months, rather than shrinking back, is the pattern worth calling a professional about.
Sources
- Repairing Historic Flat Plaster Walls and Ceilings - full version
- How to repair a plaster ceiling — This Old House
- Top Causes of Cracks in Historic Plaster Ceilings — John Canning Co